How to Forward Messages from one Gmail Account to Another? Know All about Gmail’s Automatic Forwarding feature
The most comprehensive way to manage email data is to forward all your email data to one particular account. And, this is when the “automatic forwarding” option comes in handy. Like any other email service provider, Gmail also offers automatic forwarding from your Gmail account to any other email client. Plenty of forwarding options are offered by Gmail to sort different kinds of needs.
How to Forward Emails from Gmail to Another Email Client
There are particularly two major ways, to begin with, Gmail forwarding, one is to forward a certain type of message using Gmail filters. While the second option enables you to forward all your Gmail messages to the app or web interface that you are more comfortable with. You can choose any email client or email address to forward mails from Gmail.
Just follow these steps to set up mail forwarding in Gmail:
- Step 1: Click on the Gear Icon, from the top right corner of the Gmail interface.
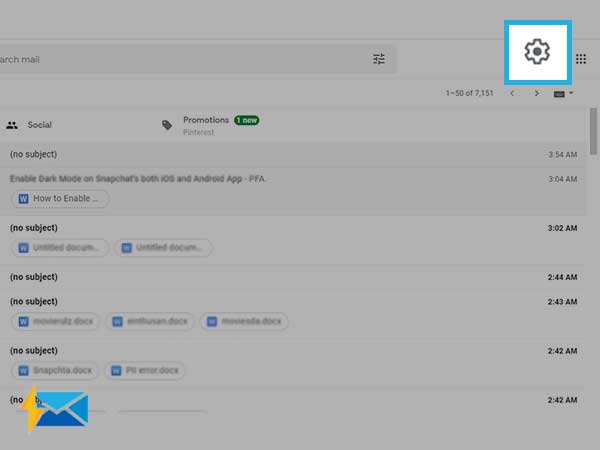
- Step 2: Select “See All Settings” from the drop-down menu.

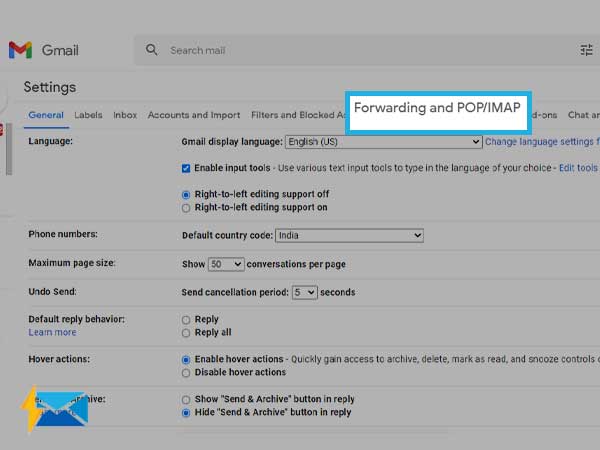
- Step 3: Select the “Forwarding and POP/IMAP” tab from the top menu.
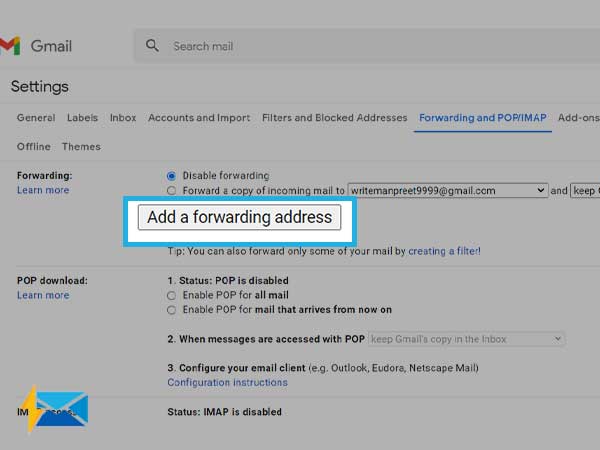
- Step 4: Now, click on the button named “Add a forwarding address”.
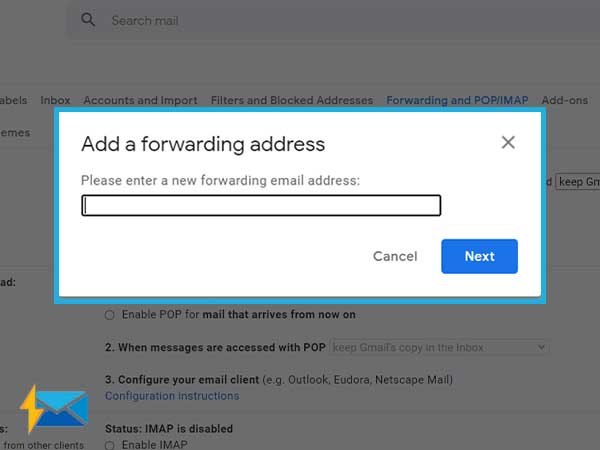
- Step 5: Provide the email address on which you want to forward or receive the Gmail messages and click “Next”.
- Step 6: Click on the “Proceed” button from the pop-up that appears on your screen.
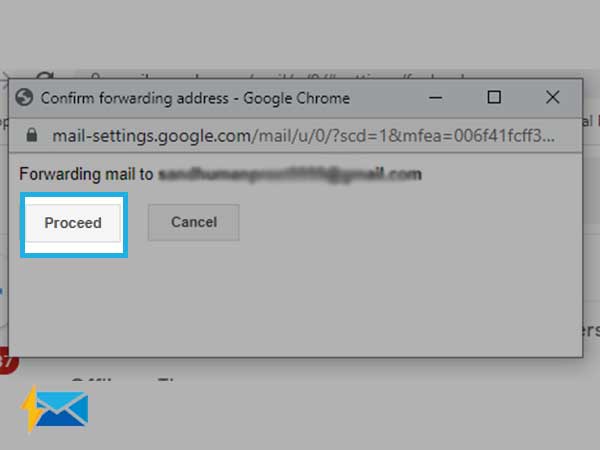
- Step 7: You will then receive a confirmation email on the address that you have set for automatic forwarding.
| Important Note: To confirm the forwarding, you can copy and paste code in the Confirmation Code section, in the Forwarding and POP/IMAP tab, and click Verify. |
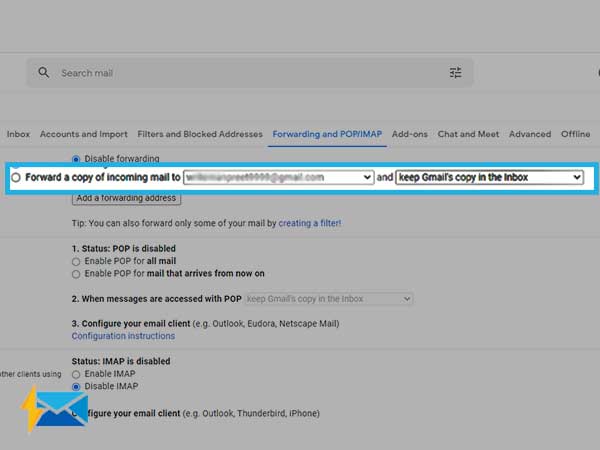
- Step 8: Choose “Forward a copy of incoming mail to” for starting the forwarding.
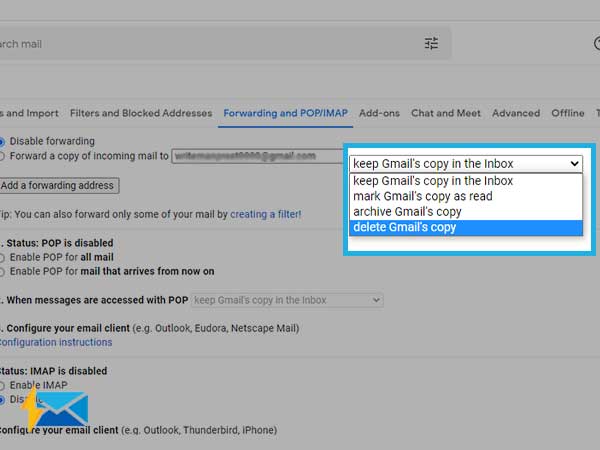
- Step 9: Choose “When messages are accessed with POP” to provide the action that you want for your forwarded emails. Choose any one option from the drop-down menu.
- Keep Gmail’s copy in the Inbox: To keep the original message in Gmail as new and unread.
- Mark Gmail’s copy as read: To leave the message in Gmail Inbox but mark them as read.
- Archive Gmail’s copy: It is one of the highest useful settings, as this action removes forwarded messages from the Inbox, and keeps messages in the archive folder for future purposes.
- Delete Gmail’s Copy: Using this, Gmail deletes the forwarded emails and moves them to the Trash folder. The emails stored in the Trash folder automatically get deleted after 30 days. If you like to keep the backup of your email data, avoid using this feature.
| Important Note: No matter what option you choose, you will receive a copy of your email at the address you have chosen to receive forwarded emails. |
- Step 10: Click on “Save Changes” to complete the process.
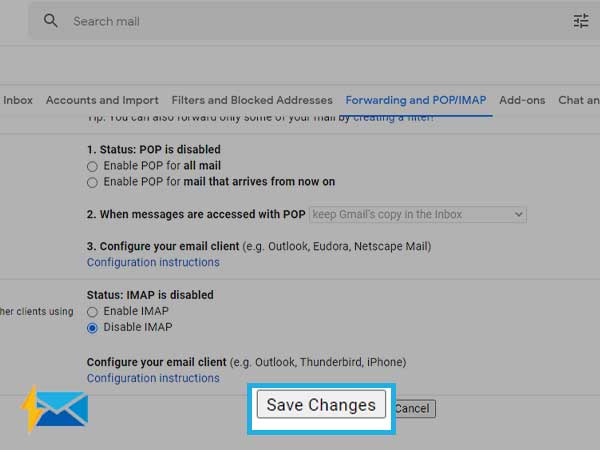
With these settings enabled, you will now get a copy of all your Gmail messages on the other account.
| Important Note: When you are using MS Outlook or Apple Mail, you can configure the Gmail account directly, instead of having automatic forwarding enabled. |
How to Turn-off the Automatic Gmail Forwarding
If you don’t want to forward Gmail messages anymore, you can anytime disable the Gmail automatic forward using the steps given below:
- Step 1: Click on the “Gear” icon from the top corner and select “See All Settings”.
- Step 2: Select Forwarding and POP/IMAO and then click on “Disable Forwarding”.
- Step 3: Click on “Save Changes” from where the screen ends.
Additional Information:
How to Forward Certain Kind of Messages
Gmail allows you to forward certain kinds of emails by creating filters. This way only those emails that contain a specific element will be forwarded to the chosen email address.
How to Forward Gmail Messages to Multiple Accounts
For forwarding your Gmail messages to multiple email accounts, you can select the option named “Only forward certain kinds of messages” to enable automatic forwarding for different email accounts.
Share