How to Delete All Gmail Emails at Once on Android, iPhone, and Computer?
Gmail being one of the most widely used email services, holds a significant space in the lives of many people. Because of its very easy-to-use, user-friendly interface, it has become the email of day-to-day transmissions and professional communications. And, due to this, every other Gmail user’s inbox is filled up with years of emails.
Now, individually deleting every email can take up a lot of time, so the question arises “How to delete all Gmail emails at once?”
Well, the process for deleting all Gmail emails is simple, which is jotted down in the article, but we will start with the steps to delete a single email. This is so because, removing all the emails at once isn’t a wise choice, as you never know when you need an old important email.
So without further ado, let’s jump into the action!
- How to Delete an Email from your Gmail Account?
- Deleting all the Emails at Once from your Gmail account on the Browser
- How to Delete Emails from the Gmail Account Before a Certain Date?
- Automatically Deleting Emails in Gmail
- Adding Swipe Action Delete in Gmail App on Mobile Phone
- Permanently Delete Email from Gmail — Delete Emails from Trash
- Why are my Emails in Gmail not Deleting?
How to Delete an Email from your Gmail Account?
In order to delete an email from your Gmail, you just have to select that email and click on the delete button. But, where do you find the Delete option? Well, to find out that, follow the steps listed below:
On Android and iPhone Gmail App:
- First, make sure that you have the Gmail app downloaded on your phone. Now, open your Gmail app.
- Tap on the sender’s profile icon next to the email. Do the same with all the emails you want to delete
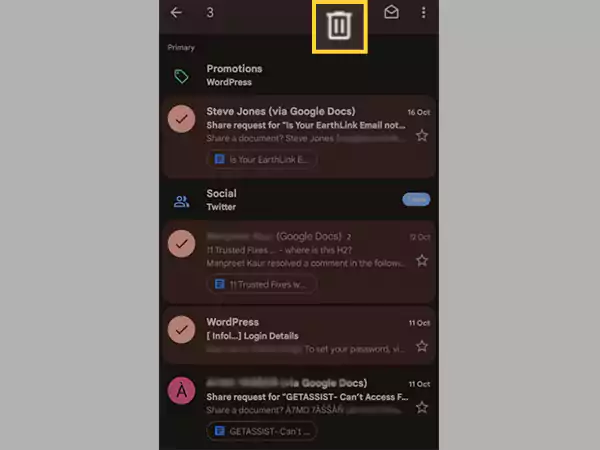
- Lastly, just tap on the Delete icon, which will appear at the top of the screen, and with that, your email/s will be deleted at once from your Gmail account.
On Browser:
- Open the browser and log in to your Gmail account.
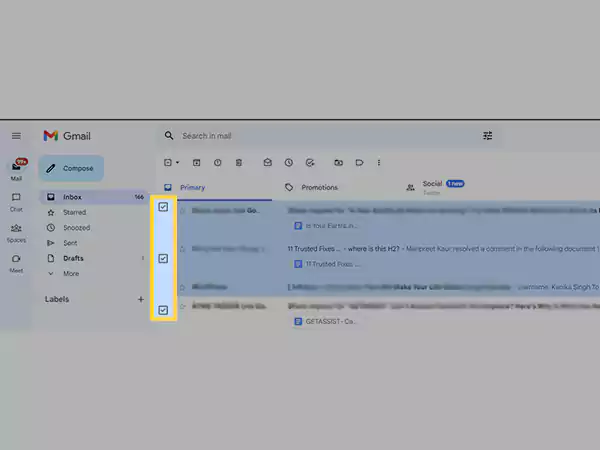
- Click on the checkbox visible next to the email you want to delete. Do the same for all the emails you want to delete.
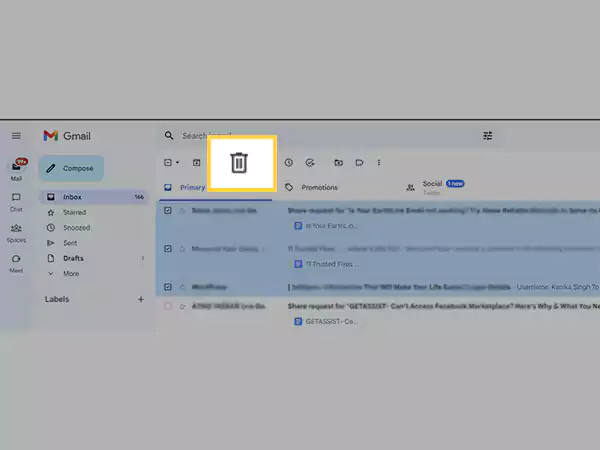
- After doing so, some options will appear in the upper menu bar. Click on the Delete icon from there, and your email will be deleted.
Deleting all the Emails at Once from Your Gmail account on the Browser
Just like deleting a single or a few emails from your Gmail is an effortless process, doing so with a whole load of them at once, is even easier on the browser, but not on the mobile app!
You must be thinking why? I’ll tell you! Because there is no way of deleting all the Gmail emails at once on Android or iPhone. If you want to delete all of them at once, you can simply do so on the browser, and the steps stated below will tell you just how to do that:
- Open the browser on your device and sign in to your Gmail account.
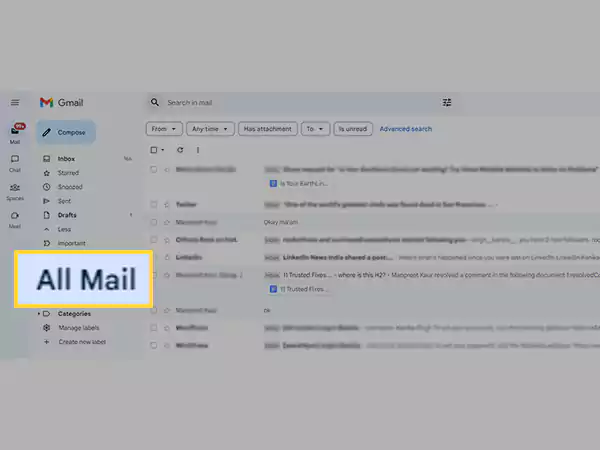
- Now, to delete all the Gmail emails at once on the computer, click More on the left sidebar and select All Mail.
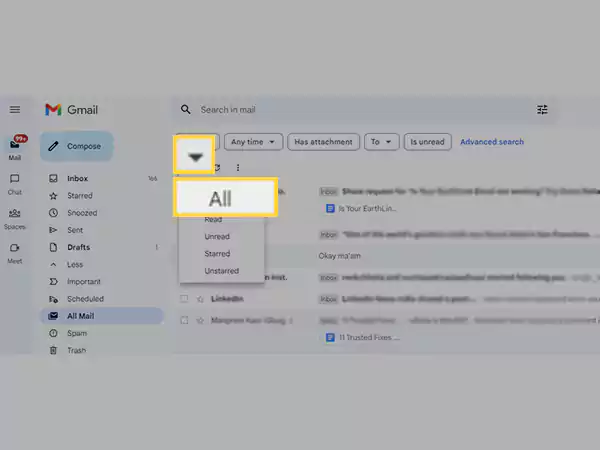
- Next, click on the down arrow, next to the checkbox icon at the top menu bar.
- From the menu that will appear, select the All option (or any other option that you find suitable).
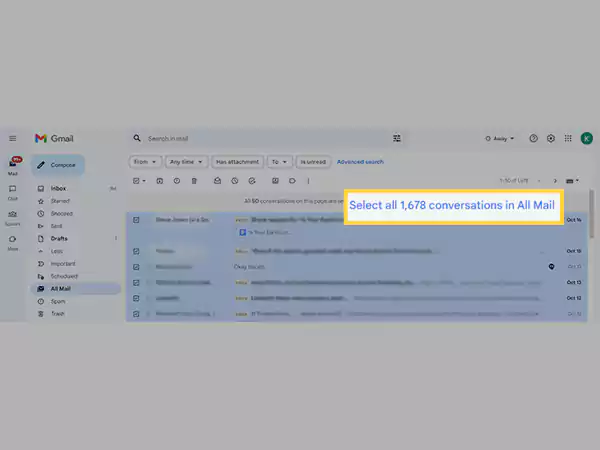
- After that, all the emails will be selected, and a message will appear at the top of emails stating that “All 50 conversations on this page are selected”. If you want to delete all the emails you received to date on your Gmail account at once, just click on the text in blue, below the aforementioned message.
Note: If you have mistakenly selected all the emails, just click on the Clear Selection option that will appear after selecting the option to clear all the emails from the account.
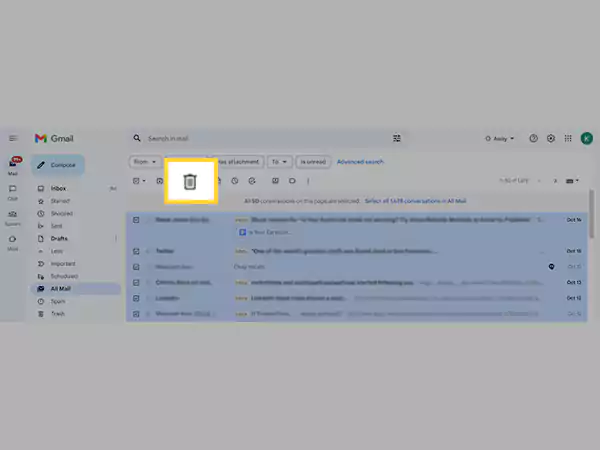
- Once that is done, you can now click on the Delete icon to delete all your Gmail emails at once.
- You will get a notice asking you to “confirm bulk action” because this is an irrevocable bulk action. Click OK to proceed.
Note: If your inbox contains messages on numerous pages, you will need to repeat this step for every page (if you haven’t already deleted all the emails), since selecting conversations based on type prevents you from selecting them all at once.
How to Delete Emails from the Gmail Account Before a Certain Date?
If you want to delete emails before a specific date from your Gmail account, then worry not, there’s a way for that too.
Stated further is the process by which you can filter out the emails you want to get rid of before a specific date and delete them all at once:
- Launch the browser on the computer and sign in to your Gmail account.
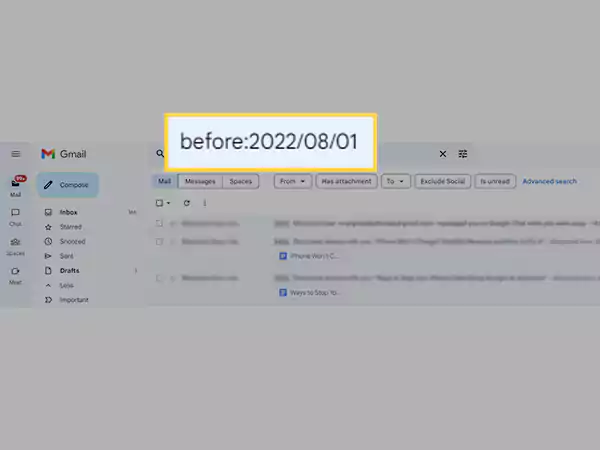
- Once your Gmail dashboard opens, type the date in the search bar in the following format: “before: YYYY/MM/DD”. To narrow down the band of emails you want to delete, you can also type “after: YYYY/MM/DD” next to before date. And, search.
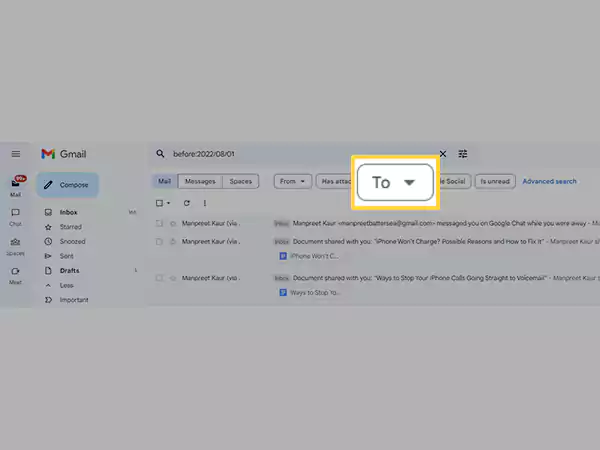
- Now, all the emails (whether you sent them or received them, chat & group messages, etc.) between the specified date will appear. Also, several options to filter down emails will appear at the top of the email list. From there, click on the To option and select your email address, which will bring forward only those emails that you have received. Likewise, if you want to, you can use other options to filter the emails you want to delete from your Gmail account.
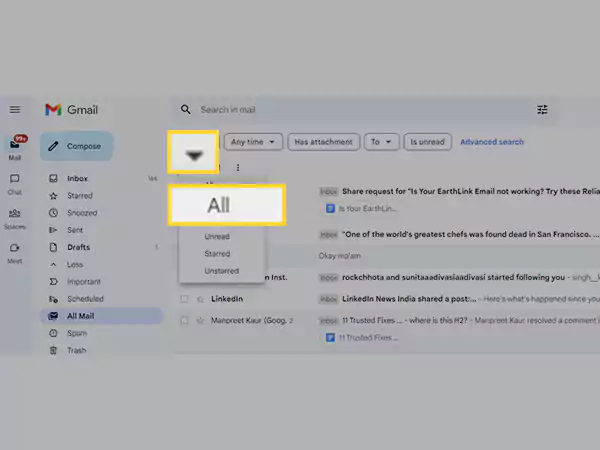
- Next, click on the down arrow next to the checkbox icon option, and select All to select all the filtered-out emails, or select any other option accordingly.
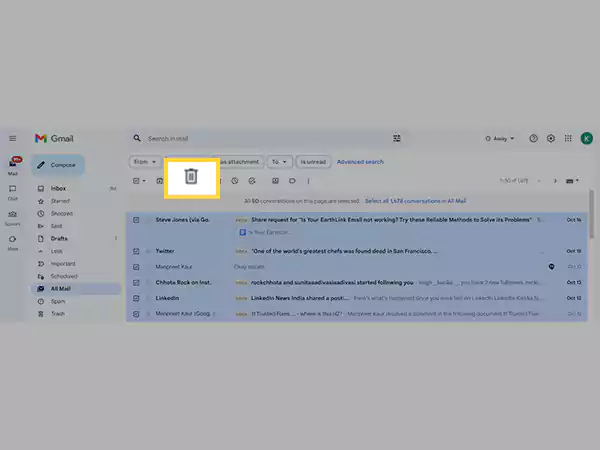
- Finally, click on the Delete icon visible at the top of the email list, and if the confirmation pop-up appears, click OK. With that, all your Gmail emails will be deleted at once.
Automatically Deleting Emails in Gmail
If the above process to delete emails from your Gmail account looks tiresome to you, then you can automate this process. Gmail doesn’t have any direct automatic email deletion function, but there is a workaround to that.
In this method, to automatically delete emails, you will have to set up a filter. Further, you need to precisely follow the steps of this process, otherwise, you can end up deleting important emails, and you may face other difficulties as well.
So, if you are ready, jump into the steps:
- Open your Gmail account via the browser on a computer.
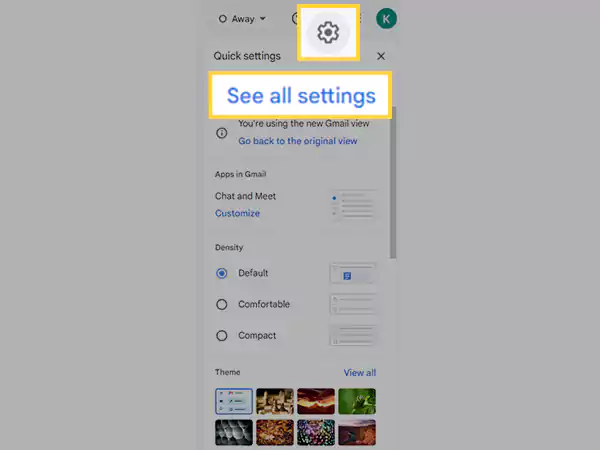
- Click on the Settings icon in the top right corner of your Gmail account and select See All Settings.
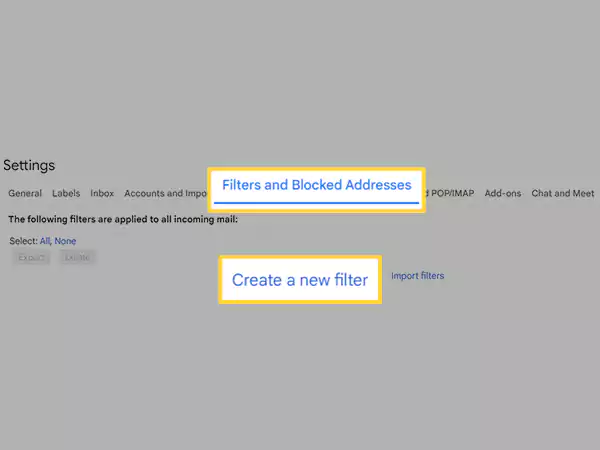
- Now, in the Settings window, switch to the Filters and Blocked Addresses tab, and there, click on the Create a New Filter option.
- After that, a window will pop up, where you have to type older_than:X command in the Has The Words section. In the command, X is the timeframe for which you want to delete your old messages. You can type m for months, d for days, w for weeks, and y for years in the command. To exemplify, in order to delete emails older than 4 years, you have to type older_tan:4y.
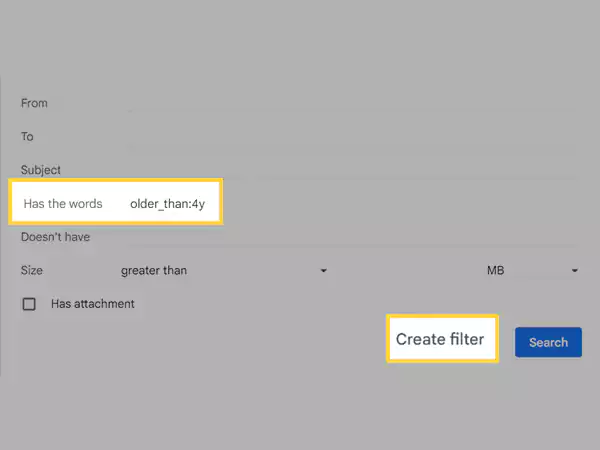
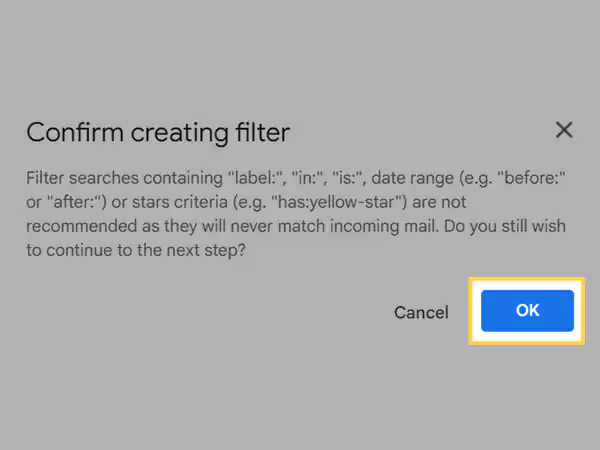
- Once this is done, click on the Create Filter button, and click OK on the confirmation window.
- On the next screen, select the Delete It and Also Apply Filter To options, and then, click on the Create Filter button.
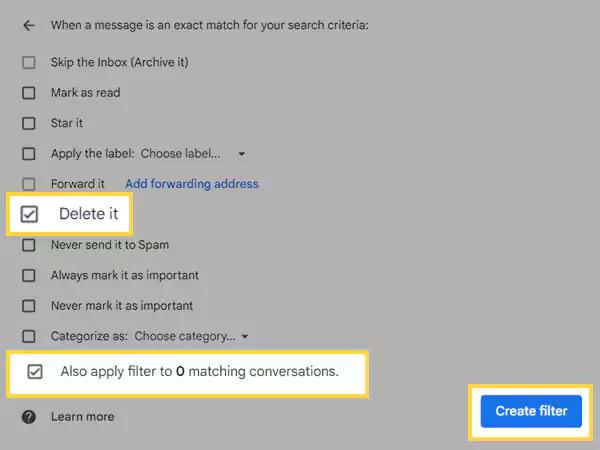
With this filter, all your emails older than the specified timeframe will be automatically deleted from your Gmail account.
Further, in the future, if you want to delete this filter, just follow the above steps to get to the Filter tab in the Gmail Settings window, and click on the Delete option next to the created filter.
Also Read: Gmail Not Loading on iPhone? Here’s How to Fix It
Adding Swipe Action Delete in Gmail App on Mobile Phone
Using this method, you can add the Delete option to the swiping action in your Gmail app. If you swipe the email left or right, it will be deleted.
Though the process to delete emails from the Gmail account on Android and iPhone specified above is simple, if you want to make the process even easier, then check out the steps jotted below:
- Open the Gmail app on your phone.
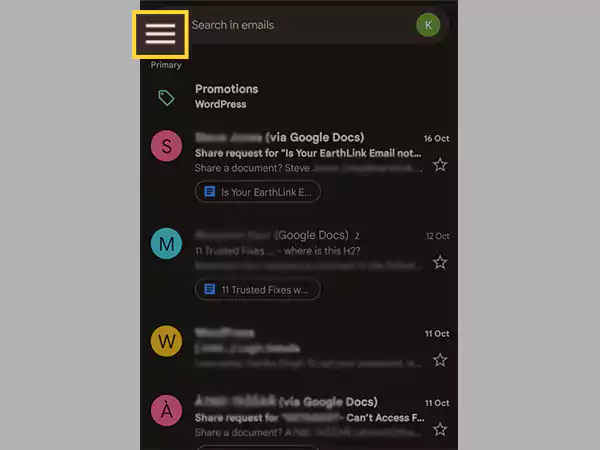
- Tap on the hamburger menu icon (three horizontal lines) in the top left corner of the home page.
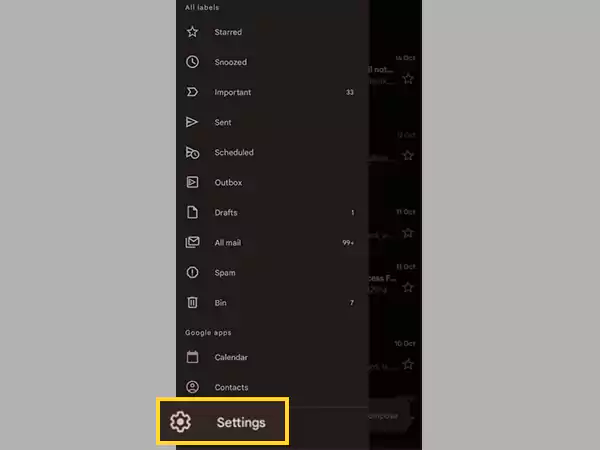
- From the menu that will appear, select the Settings option.
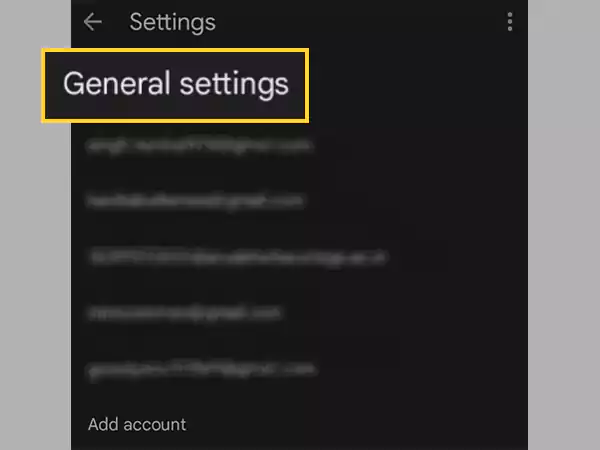
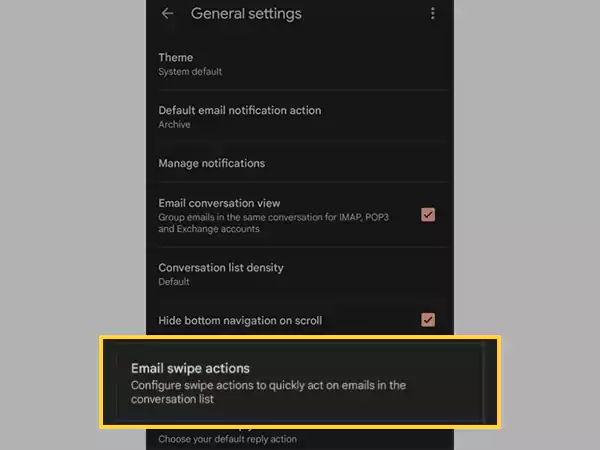
- On the following page, tap on General Settings.
- On the next page, tap on the Email Swipe Actions section.
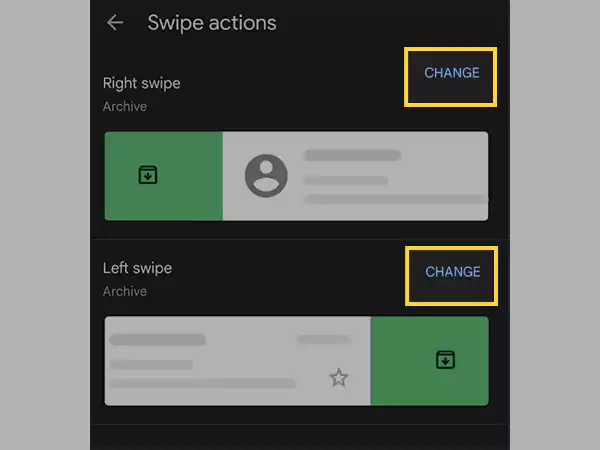
- Now, tap on the Change option, depending on the swipe to which you want to add the Delete action.
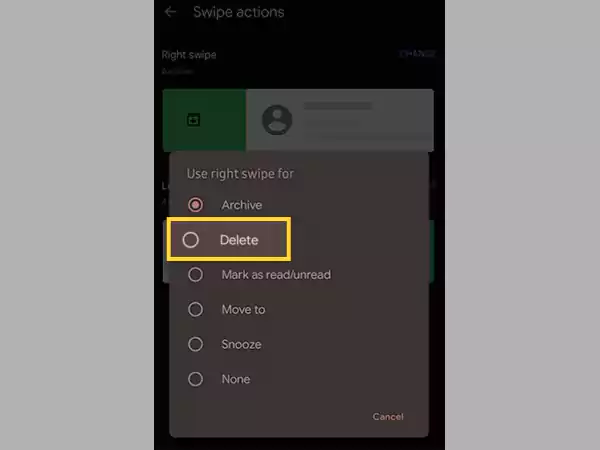
- Lastly, select the Delete option from the pop-up screen.
- Once done, return to your inbox or the folder from which you want to delete the email. Swipe the email right or left to which you have added the deleted action, and your email will be removed.
Permanently Delete Email from Gmail — Delete Emails from Trash
Now that you know how to delete all Gmail emails at once on Android, iPhone, and Computer, the next step is to know how to permanently get rid of them. After deleting emails from the inbox and other folders, they are moved to Trash, where they remain for 30 days if you do not delete them before that.
So, for deleting emails in Gmail Trash folder, refer to the process stated below:
On Browser:
- Open the browser on your system, and log into your Gmail account.
- Now, click on the More option in the left sidebar and click on Trash.
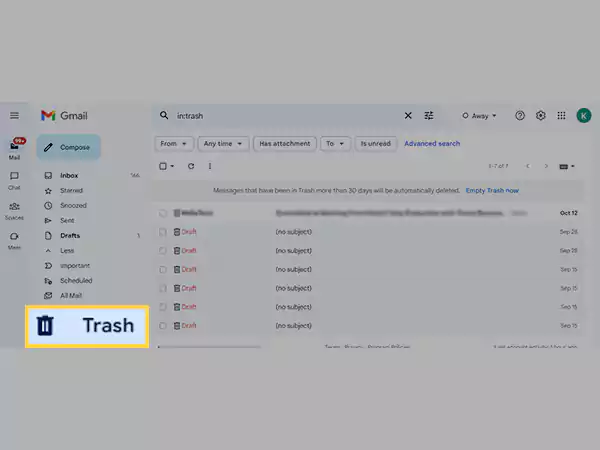
- Thereafter, you can click on the Delete icon present on the left side of each email. Or, to delete all the emails at once from the Gmail Trash folder, you can click on the Empty Trash Now option present at the top of the email list.
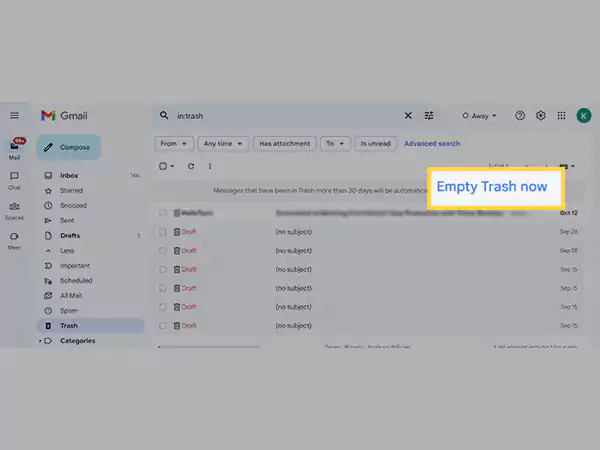
- Lastly, tap on OK for confirming the action, and with that, all your emails from the Trash will be permanently deleted.
On Android or iPhone Gmail App:
- To begin with, open the Gmail app on your phone.
- Tap on the menu icon (three horizontal lines) in the top left corner of the Gmail home page.
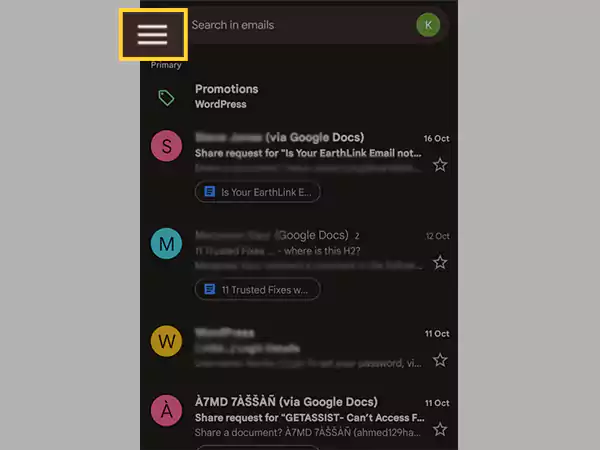
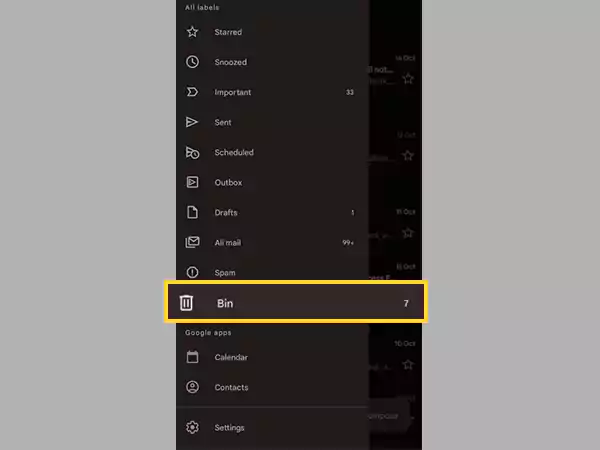
- Then, scroll down in the menu that will appear and tap on the Bin option.
- Next, the trash folder will open. There, tap on the Empty Bin Now option at the top of the email list.
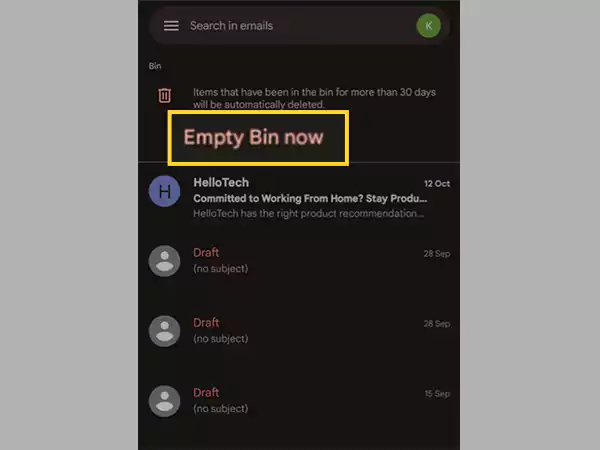
- Finally, tap on OK to confirm the action.
Why are My Emails in Gmail not Deleting?
If you are using your Gmail account in any third-party email client like Outlook, Apple Mail, etc., then IMAP must be enabled in your Gmail. In the default settings of Gmail IMAP, when you delete an email it doesn’t actually delete, rather it is archived in the “All Mail” folder, and because of it, the question arises ‘Why can’t I delete emails in Gmail?’
Now, in order to solve this issue and actually delete emails when the delete action is performed, some settings need to be changed. Stated below are the steps that will guide you through the process:
- On your computer, open the browser and sign in to your Gmail account.
- Then, click on the Settings icon in the top right corner and select the See All Settings option.
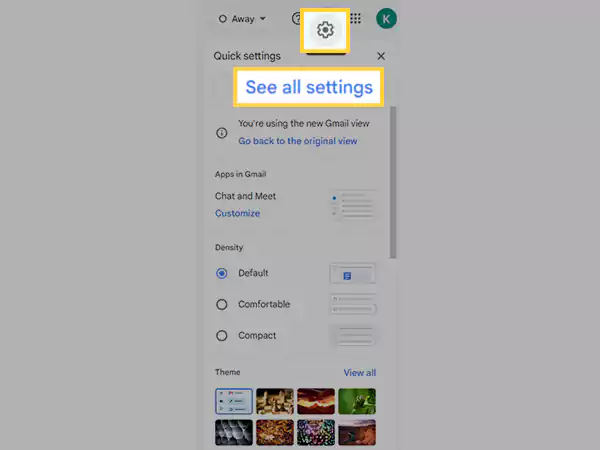
- Now, switch to the Forwarding And POP/IMAP tab in the Settings window.
- Thereafter, in the IMAP Access section, choose the options listed below:
- When I Mark a Message in IMAP as Deleted: Auto-Expunge Off – Wait for the Client to Update the Server.
- When a Message is Marked as Deleted and Expunged from the Last Visible IMAP Folder: Move the Message to the Trash\
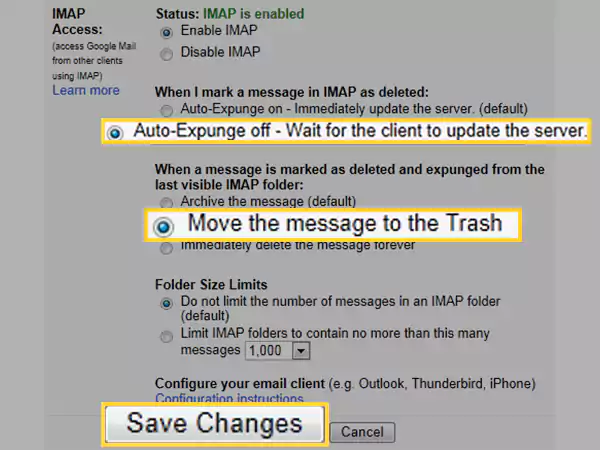
- Lastly, to apply the changes, click on the Save Changes button at the bottom of the window.
Now, your ‘Emails not deleting in Gmail’ issue will be resolved and when you delete an email it will be moved to the Trash folder.
However, if you are still not able to delete emails from your Gmail account, and you are not using any third-party email client, you can try out some basic fixes listed below to resolve the issue:
- Clear your browser’s Cookies and Cached data.
- Refresh the page by clicking on the refresh icon in the browser and in the Gmail app, drag down from the top of any page to refresh.
- Check if any malicious browser extension is interfering, by turning off each of them one at a time, and subsequently, trying to delete emails from Gmail. If by turning off any one of them you are able to delete your email, then congratulations, you have found the cause, and now permanently uninstall that extension from your browser.
- Also, sometimes, antivirus and firewall programs prevent certain actions. Thus, try to delete the emails by turning them off temporarily. If this works, it means that your antivirus or firewall program was creating the hindrance.
Share


