How to Automatic Forward Outlook Mail to Another Mail Address
Email forwarding is one of the essential requirements when you can’t access your email account but still want the email you are receiving to be attended to. But the question that arises is how to forward an email from Outlook.
The process for forwarding Outlook mail to any other email account is pretty straightforward for outlook.com and Outlook 365. However, for other Outlook versions on Windows and Mac, you will have to create rules to forward Outlook emails to other email accounts, which is a little complicated.
Nevertheless, you don’t have to worry. If you follow the steps, just as stated in the following write-up, you will be able to forward emails from your Outlook without breaking a sweat. So, without further ado, let’s jump right into the process.
Automatic Email Forwarding in Outlook
Want to know how to forward Outlook email to another email account? Well, Outlook, just like any other email client, provides a forwarding feature. By enabling this feature, you can redirect the emails you are receiving on your Outlook to another email account.
Listed below are the steps to be followed:
In Outlook.com
- Begin by opening the browser and logging into your Outlook account by visiting Outlook.com. If you can’t sign in to your Outlook account, then try refreshing the page.
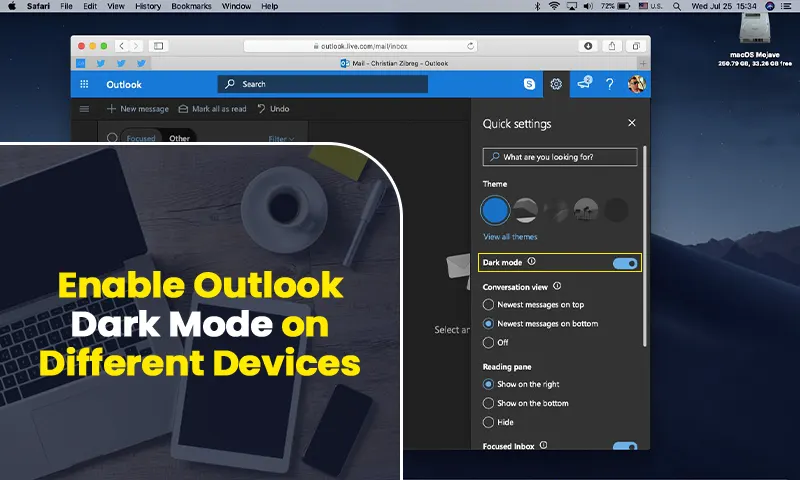
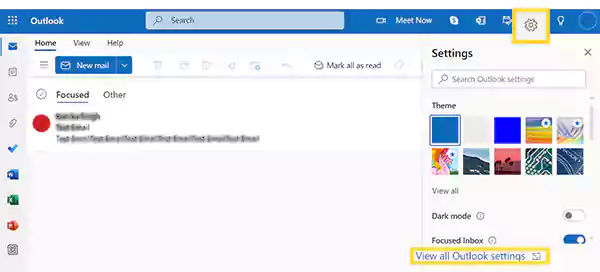
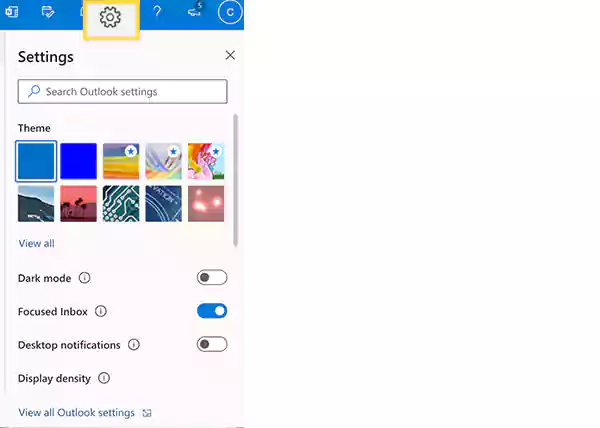
- Once you are in your account, click on the Settings icon present in the top right corner of the screen.
- Click on the View All Outlook Settings option from the right side pane that appears next.
- Then, click on the Forwarding option under the Mail tab.
- Finally, select the Enable Forwarding option, and enter the email address to which you want to forward the email from your Outlook account.
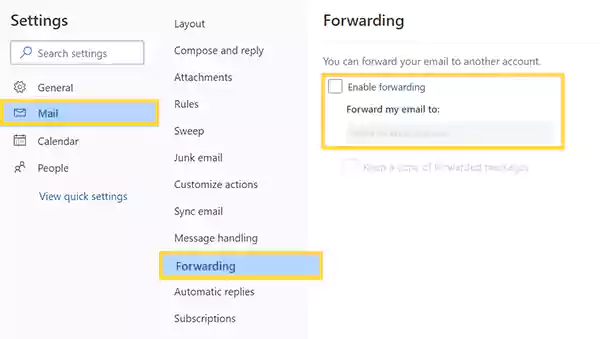
Tip: If you want to keep track of the emails that are forwarded from your Outlook account, you can check the Keep a Copy of Forwarded Messages option.
In Outlook 365:
- Launch Outlook 365 on your device, and from its dashboard, click on the settings icon at the top.

- Expand the Mail section from the left sidebar of the following screen, click on Account, and select Forwarding.
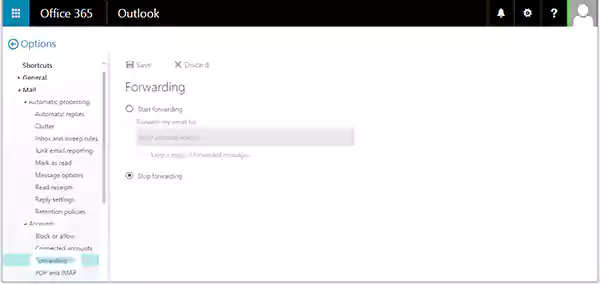
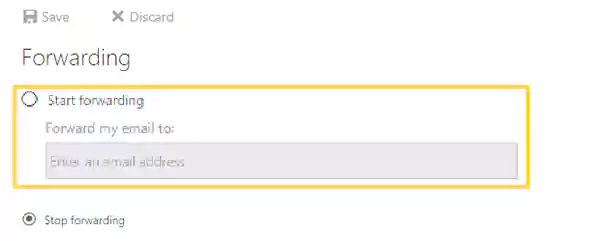
- This will open the Forwarding page, where you have to select the Start Forwarding option.
- Next, fill in the email address to which you want to forward the emails in the Forward My Email To text field.
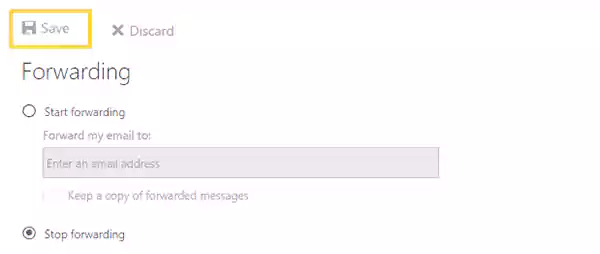
- You can optionally check the Keep a Copy of Forwarded Messages option. This will keep a copy of all the emails forwarded to the email addresses you added.
- Once done, click on the Save button at the top of the page to apply the changes.
Creating a Rule to Forward Emails in Outlook Automatically
The email forwarding feature, like the one stated above, isn’t available in Outlook versions for Windows and Mac. For these versions, you specifically have to create a rule to forward Outlook emails to another email account.
By knowing how to forward an email from Outlook by creating a rule, you can apply special conditions to include or exclude specific types of emails or recipients from being forwarded.
So, listed below are the processes that will let you know how to forward emails in Outlook by generating the rule:
In Outlook for Windows:
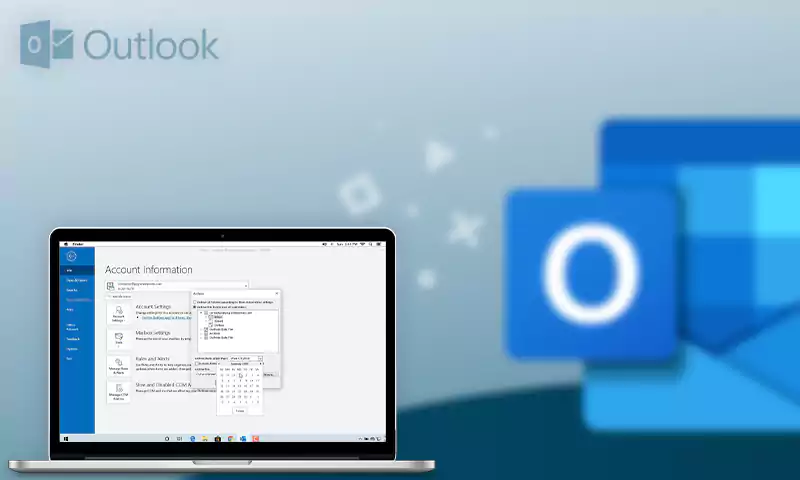
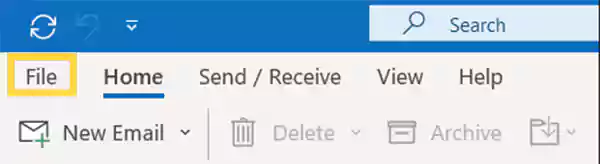
- First off, open Outlook on your system, and click on the File option from the top menu ribbon.
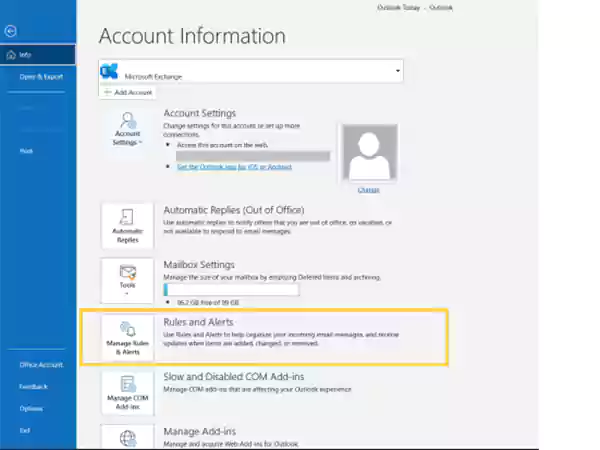
- Under the Info tab of the following screen, select the Manage Rules and Alerts option.
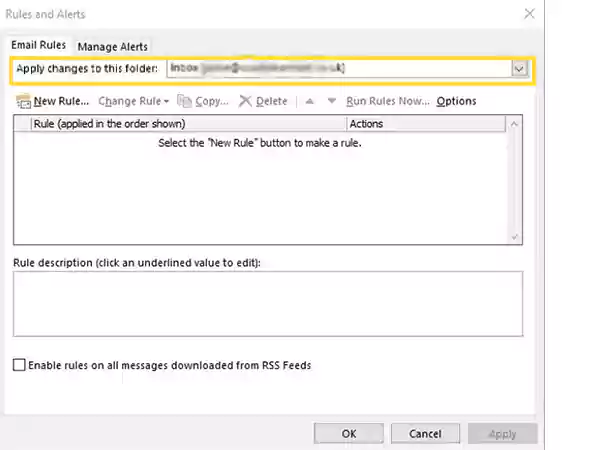
- Next, the Rules and Alerts window will open. If you have more than one Gmail account added to your Outlook or any other email account, select the one on which you want to apply the rule for forwarding emails in Outlook, from the Apply Changes to this Folder drop-down menu.
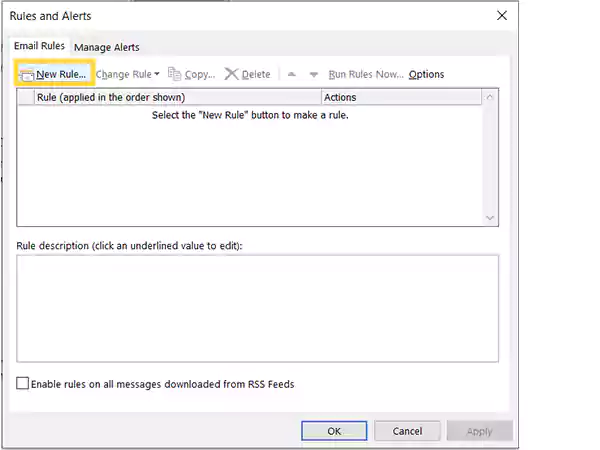
- After that, click on the New Rules option.
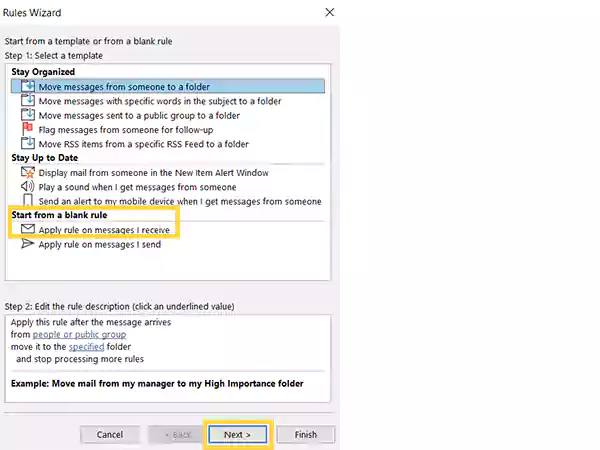
- Thereafter, the Rules Wizard window will open. There, click on Apply Rule on Messages I Receive and click on the Next button.
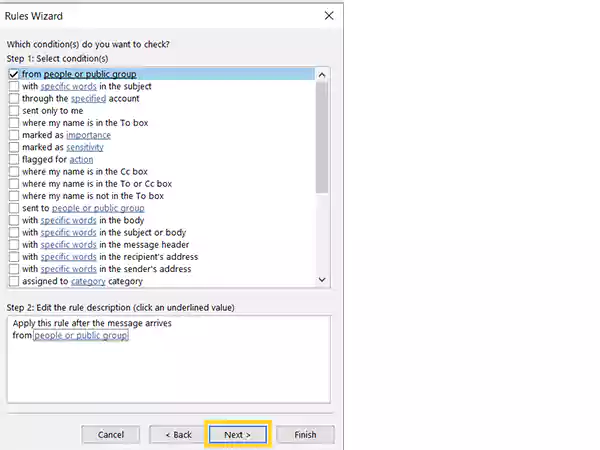
- From the following screen, select the condition/s for applying the email forwarding rule in Outlook. Depending on your needs, here you can decide whether to forward emails from specific persons, just those tagged as essential, or apply any other conditions. Then, click on Next.
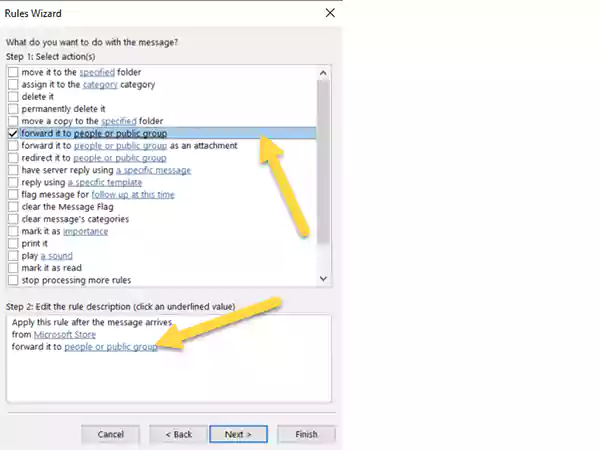
- From the following screen, select the Forward It To People or Public Group, under the Select Action(s) list. Thereafter, you will have to add the email address, to which you want to forward emails from Outlook, for which you have to click on the blue text under the Edit the Rule Description section.
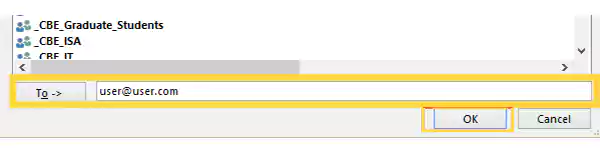
- Now, you will have to select the email address(s) to which you want to forward the emails, and then click OK.
- Once you have edited the description, click on Next.
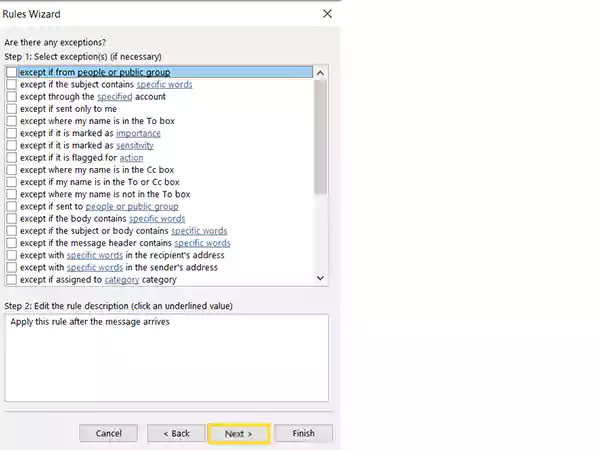
- In the next window, you can select the exception(s), if any, and click Next. By doing so, you can prevent some emails or spam from being forwarded.
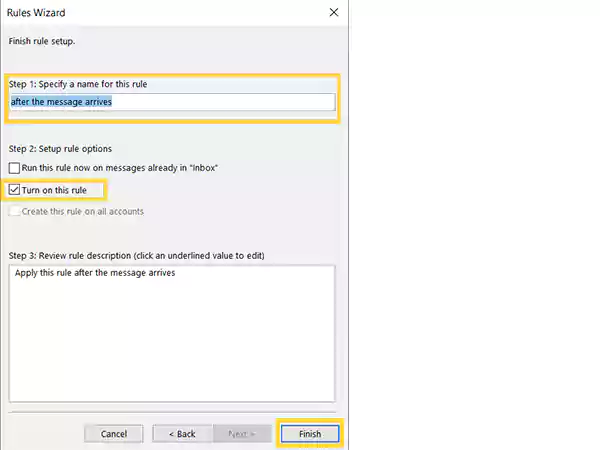
- Finally, type in the name of your rule under Specify a Name for This Rule, select the Turn On This Rule option, and click on Finish.
Note: In order to turn off the email forwarding from Outlook, you just have to follow the above steps to get to the Rules and Alerts window, and uncheck the forwarding from the Rule list.
In Outlook for Mac:
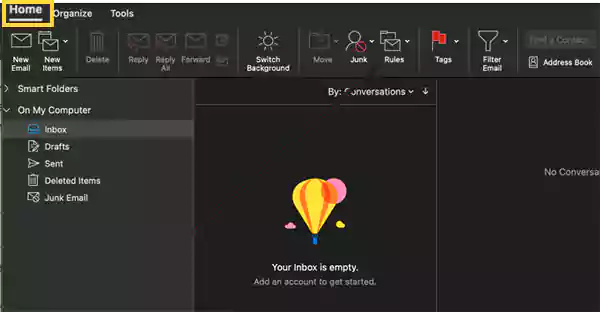
- Launch Outlook on your Mac.
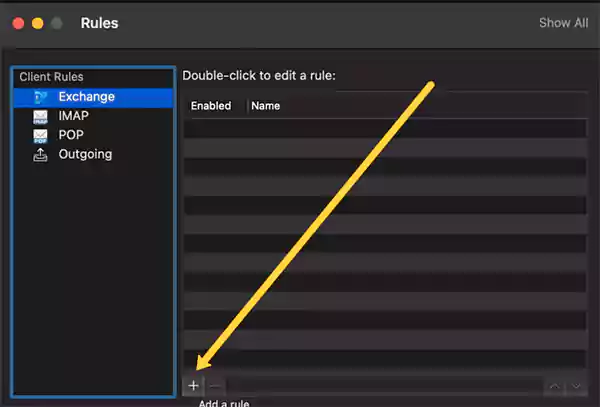
- Go to the Home tab, and click on the Rules option from the top menu ribbon.
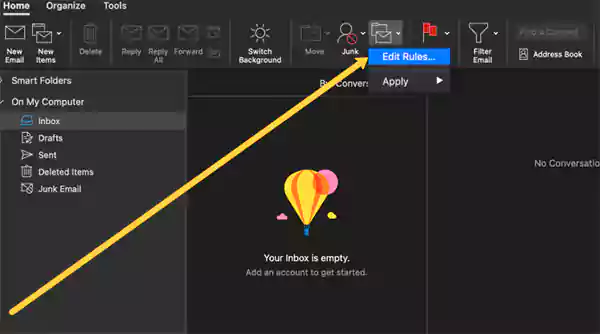
- Then, select the Edit Rules option.
- Now, click on the + icon present at the bottom of the screen.
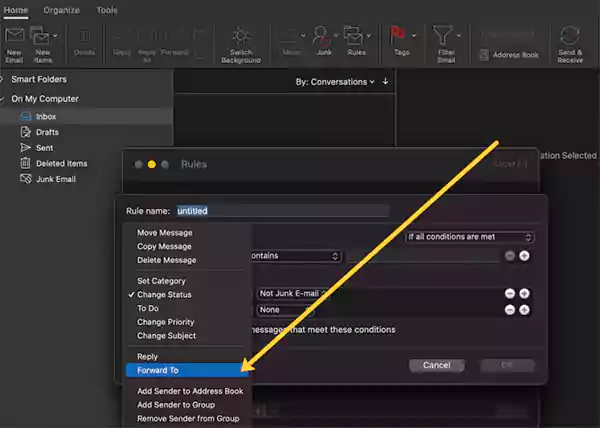
- After that, the page for forming the rule will open. There, give a name to your email forwarding rule in Outlook, set the parameters of the rule, and from the Do The Following section drop-down menu, select the Forward To option.
- Next, you have to type in the email address to which you want to forward emails from your Outlook account.
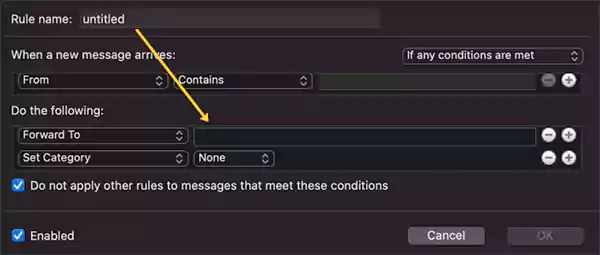
- Lastly, hit the OK button to apply the changes.
Note: The steps for setting up a rule to forward email in Outlook for Mac can change, depending on the version you are using.
In Outlook.com:
- On your browser, go to Outlook.com and log into your Outlook account.
- Click on the Settings icon present in the top right corner of the screen, and select the View All Outlook Settings option from the right pane.
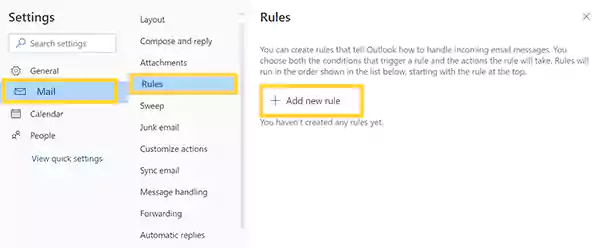
- Select the Rule option under the Mail tab, and then click on the Add a New Rule option.
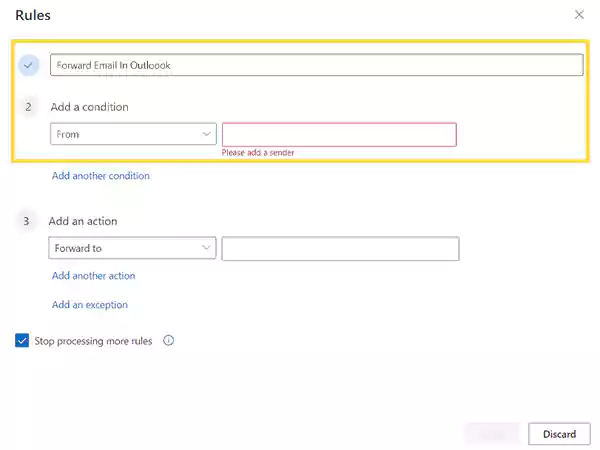
- Next, enter the name of your email forwarding rule in Outlook. Then, since you want to forward the emails to another account, so, from the Select a Condition menu, select From, and type in the subsequent email addresses, to which you want to apply the forward rule. Further, to add more conditions, click on the Add Another Condition option.
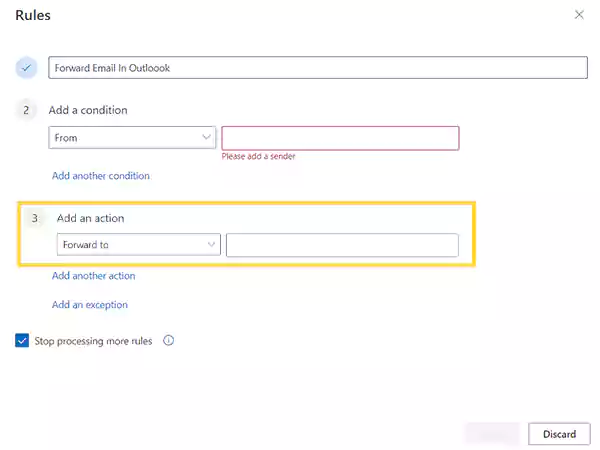
- After that, click on the Add an Action menu, select the Forward To option, and type in the email address to which you want to forward emails from your Outlook. To add more actions, or to add an exception to the rule, click on Add Another Action and Add an Exception, respectively.
- Once you are done setting up the rule to forward emails from Outlook, click on Save.
In Outlook 365:
- Open Outlook 365 on your system, and click on the Settings icon from the upper right part of the window.
- Click on Mail from the left sidebar of the next screen. Then, expand the Automatic Processing option and click on Inbox and Sweep Rules.
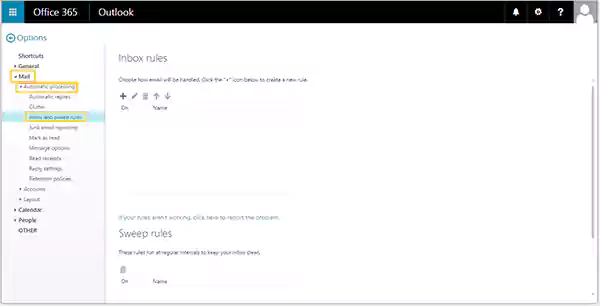
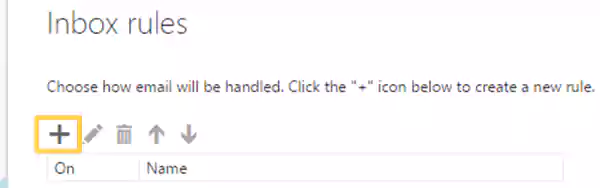
- After that, click on the + icon present under the Inbox Rules section.
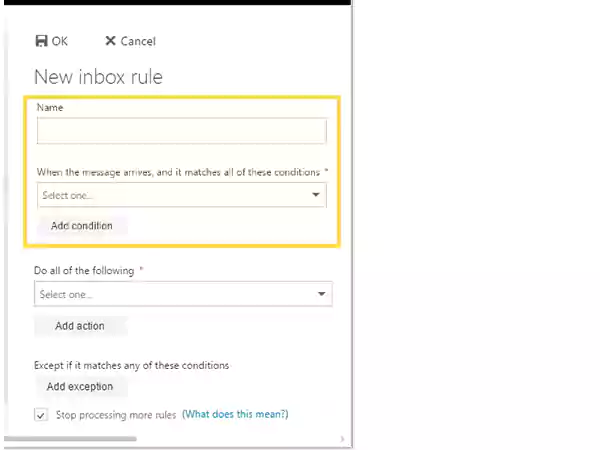
- This will open the New Inbox Rule page, where you have to enter the name of the rule and select Apply To All Messages, from the conditions drop-down menu.
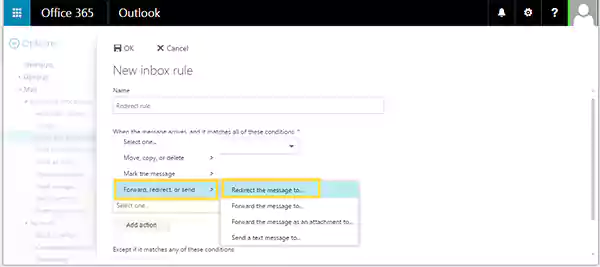
- Choose the Redirect Message To option from the Do All Of the Following menus.
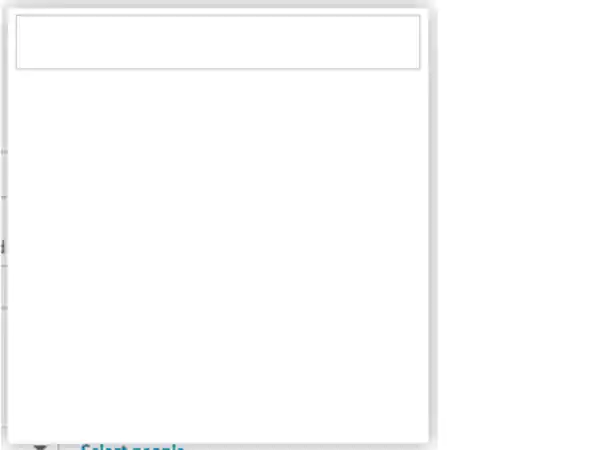
- Thereafter, a blank screen will appear, where you can add all the email addresses to which you want to forward the emails, from your Outlook.
- At last, a warning message appears, where you have to click OK to apply the email forwarding rule in Outlook 365.

Note: To turn off the email forwarding rule, go to the Inbox Rules section by following the above steps and uncheck the required rule.
With this done, your Outlook is all set to forward the emails to another email account.
Read More:
- How to Create an Email Group in Outlook? All that you Need to Know!
- Instructions To Setup and Configure Yahoo Mail in Outlook Email Client (All Versions)
- How to Set up Outlook on an iPhone? Get Settings, Troubleshooting, and More
- Why does Outlook Certificate Error Occur and What Are its Common Solutions?
Share