AT&T Email Settings ( IMAP, POP3, SMTP)- Bonus Settings for iPhone, Outlook
Att.net is similar to other email service providers and owned by AT&T. If you are looking for AT&T email settings you have reached the right destination as every detail regarding its settings has been mentioned in forthcoming passages. If you are a novice and do not have much experience with settings, there is no need to worry as the steps for each set of “settings” have been mentioned in a simple way. So, stick to the article and find the required settings.
What are att.net email settings?
Att net email settings like IMAP, SMTP, POP, etc allow an individual to connect with third-party email clients such as Microsoft Outlook, Mozilla Thunderbird, Mailbird, and many more. The usage of these email clients is advantageous in a case when someone is looking for a simple and appealing interface and want to add up some quality to the productivity, as the email clients are rich in features and provide the facility of offline usage, using which an individual can access the email without having access to the internet.
So, let us start with the settings one by one.
AT&T IMAP Settings
IMAP or Internet Message Access Protocol is used to fetch the emails from the email server. If you want to use any third-party email client but the settings of IMAP are missing in it, you will not be able to browse emails in the email client for sure. So, it is quite essential to have settings entered correctly, and in order to do it see below.
- Att.net (AT&T) IMAP Server– imap.mail.yahoo.com
- IMAP port- 993
- IMAP security- SSL / TLS
- IMAP Username- Enter your full email address
- IMAP password- Enter your Att.net password
So, after having updated the IMAP settings from above, your desktop email client will start fetching the emails from the respective server. Also, there are numerous email clients available but the settings above will remain the same for all of them.
AT&T SMTP Server Settings
SMTP or Simple Mail Transfer Protocol is required whenever you want to send or receive emails and when it comes to desktop email clients, SMTP settings are needed the most for the same cause. So, in order to submit correct SMTP values to the email client, see below
- Att.net (AT&T) SMTP Server- smtp.mail.yahoo.com
- SMTP port- 465
- SMTP security- SSL / TLS
- SMTP username- Enter your full email address
- SMTP password Enter your Att.net password
So, these were the SMTP settings and after entering them at the required place, do cross-check carefully.
AT&T POP3 Settings
POP or Post Office Protocol is used to transfer the emails from the server to the email client and settings required to enable the POP3 in an email client have been mentioned below.
- Incoming mail server- inbound.att.net
- Incoming Server Port (POP3)- 995
- Outgoing Server Port (SMTP)- 465
- Outgoing mail server- outbound.att.net
So, after having entered the above POP3 settings into the email client, it will start receiving the emails from the server.
Difference between IMAP and POP3
The working of both the protocols is the same but these have a very minute difference with the storage of email. Let us grab the email storage aspect of them one by one.
IMAP fetches emails from the server to the email client and when any email is deleted from the email client, it does not get deleted from the server and remains there as a backup. So, if you are willing to have emails backed up, you should use IMAP.
POP3 also transfers the email from the server to the email client but if you deleted any email, it also gets deleted from the server. So, if you have an AT&T email issue with the storage availability, you should prefer POP3 as it frees up the space whenever an email is deleted from the email client.
Now, after you are done with the protocol settings, let us start with the email client configuration. Here, we are taking Outlook for configuration.
AT&T Settings For Outlook
Outlook is an email client owned by Microsoft and comes with Microsoft Office Suite. It has several other features as well like, Calendar, Task Manager, Note Taking, and much more. It is prominent among available email clients and has been favored by many as their first choice.
In order to set up a Microsoft Outlook account with “AT&T email”, follow the below-mentioned steps diligently.
- Step 1: Open up Outlook by double-clicking the icon on the desktop
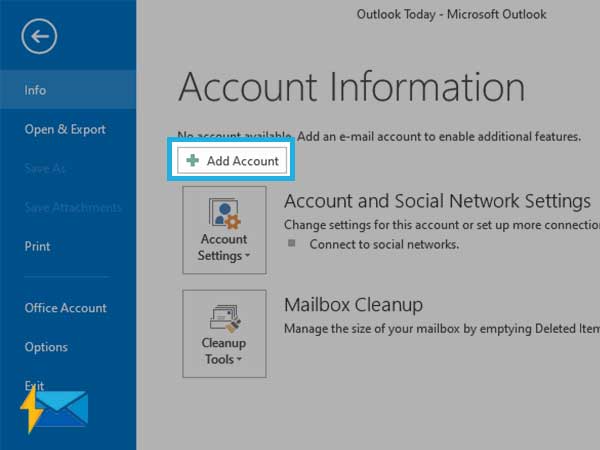
- Step 2: Once it is opened, click on File
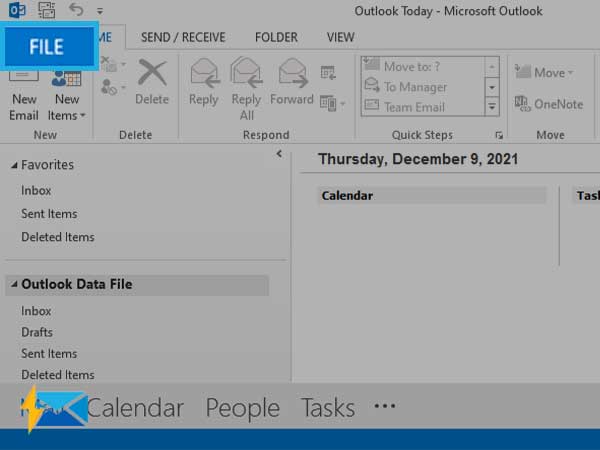
- Step 3: A new window will open up as mentioned below, click on Add Account
- Step 4: Now, a new window will open up as shown below asking you to enter your name, email, password
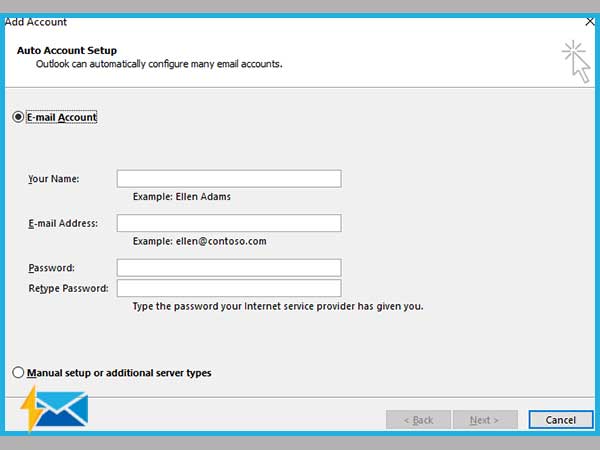
- Step 5: After filling up the details, click on Next
- Step 6: Now, some onscreen instructions will pop up, follow them and click on the Okay button
By following the above steps, you will have the email account set up in Outlook and if you are still not able to grasp them at once, I request you to follow the steps diligently again.
Now let us start with setting up the AT&T email on the mobile and more precisely for Android as well as for an iPhone.
AT&T Email Settings for iPhone
The iPhone is one of the most famous smartphones and has a huge user base. It is owned by Apple (A Multinational American Company).
If you are looking for setting up the Outlook account into an iPhone, you are in the right place as the procedure of doing the same is being depicted below. So, keep reading further and follow the steps.
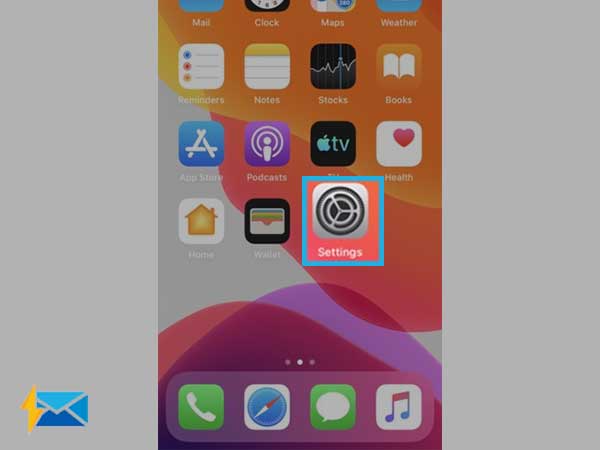
- Step 1: Unlock your iPhone
- Step 2: Locate and Tap on Settings
- Step 3: A new window similar to the below one will open up
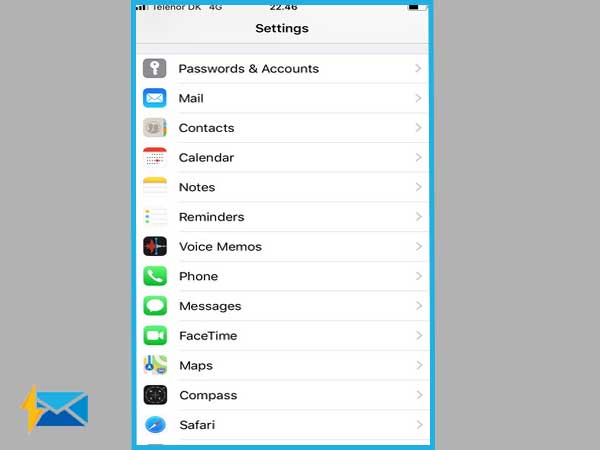
- Step 4: Scroll and locate the mail app, tap on it

- Step 5: Now, Choose Accounts
- Step 6: Tap on Add Account
- Step 7: Choose other
- Step 8: Tap on Add Mail Account
- Step 9: Enter the details like Name, Email, Password
- Step 10: Click Next
- Step 11: Now, choose IMAP and enter the required details
- Step 12: Click on Next
- Step 13: Tap on Continue
- Step 14: Click on Save
- Step 15: Now go to the settings app again
- Step 16: Click on Mail
- Step 17: Go to Accounts and choose the recently created email account
- Step 18: Now choose SMTP server under Outgoing mail server
- Step 19: Enter the details for incoming and outgoing servers from below
- Incoming server Hostname – Imap.mail.att.net
- Outgoing server Hostname – Smtp.mail.att.net
Once you are done with the above steps, you will have set up the AT&T email account successfully on the iPhone and now you can access all your AT&T emails on your iPhone device.
AT&T Email Settings for Android
Android mobile phones have enormous users all over the globe, also, when it comes to pricing, Android is found to be available at cheaper rates when compared with an iPhone. So, it is also one of the most popular among its competitors and owned by Google.
In order to set up AT&T email on android, follow the below steps
- Step 1: Unlock your smartphone
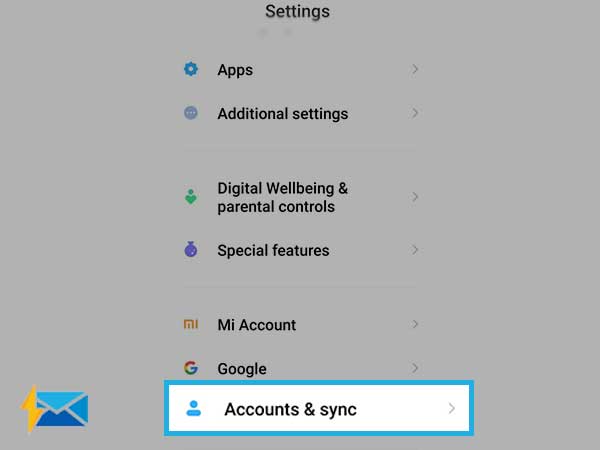
- Step 2: Go to the Settings app
- Step 3: Scroll and Locate Accounts & Sync, as shown below in the image
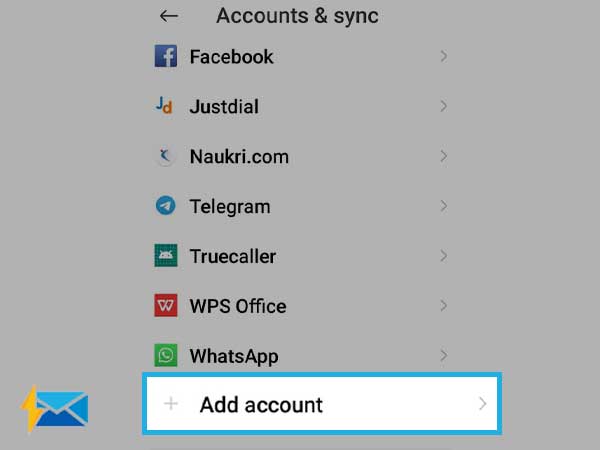
- Step 4: Again scroll and search for add account
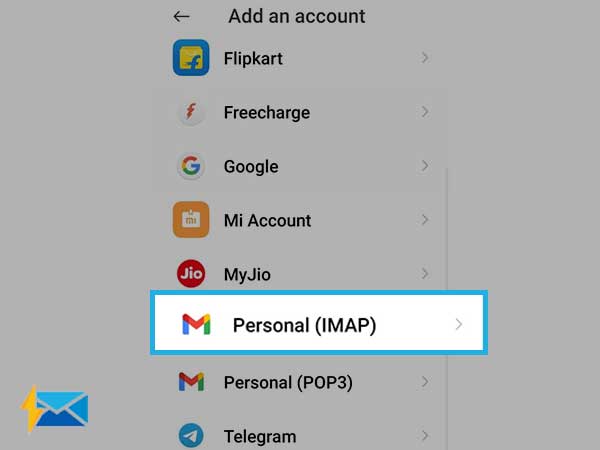
- Step 5: Now search for Personal (IMAP) and click on it
- Step 6: A new window will open up, asking you to enter the email address
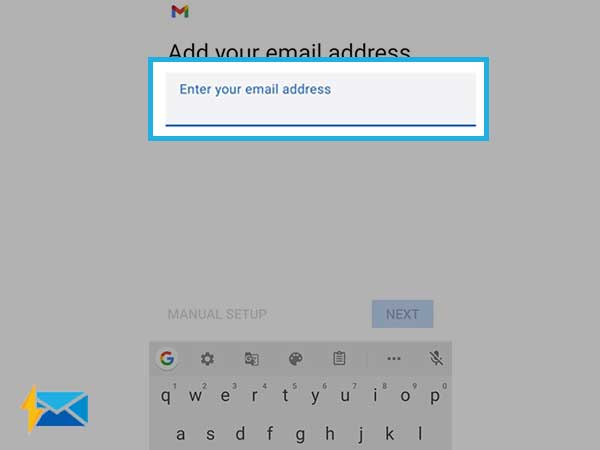
- Step 7: Click on Next
- Step 8: Enter the Password and click on Next
Now, follow onscreen instructions and get the process completed, and once the process is done you will have set up the AT&T email successfully into an Android mobile.
AT&T Email Settings on Third-Party Platforms
We have already discussed the mainstream platforms using which you can access your AT&T email account with the help of configuration settings. But, those who often feel it difficult to configure their email account, should try third-party tools like getmailbird and getmailspring. These apps allow you to have one unified inbox for all your email accounts, so that you can manage multiple email accounts at one place. Additionally, you can access various integrated apps such as Whatsapp, Facebook, DropBox, Twitter, Outlook and more.
The major highlight of these tools is, they can automatically detect the IMAP and POP3 settings for the AT&T email account so that those who struggle with manual configuration, can take sigh relief.
Here is how to use these tools to access your AT&T email account without configuring any settings.
- Download MailBird or Mailspring on your device.
- Now, launch the app and go to “Accounts”.
- Click “Add Account”.
- Type-in your AT&T username and Password.
- Access your AT&T inbox
Note: You can manually configure your AT&T email settings on both the apps, if you want. For that you can make use of the AT&T IMAP, POP3, and SMTP settings given above.
So, here are the detailed steps to set up and configure the email client for AT&T email, and furthermore, the bonus settings for iPhone, Android Mobile, and Outlook have been provided. All these settings as told above have been curated with great precision so as to provide the same with high accuracy.
Share