How to Send Mass Email Using Gmail? Reliable Method to Send Bulk Email through Gmail
It is needless to say that Gmail is one of the most reliable means of communication. It is extensively used in sending day-to-day emails, but what about sending mass emails using this trusted email service?
Very few people know that Gmail can be used to send mass emails and that too for free! Yes, you can use your favorite Gmail to send emails to multiple recipients at once.
The following write-up states some easy methods which enable you to send emails in bulk, which will definitely help you in successfully running your email marketing campaigns.
Sending Bulk Email through Gmail using Google Apps Script
In order to send mass emails using your Gmail account, you can use Google Apps Script. This script creates a special Google Sheet that can be used to send multiple emails at once. Stated below are the steps that you can follow:
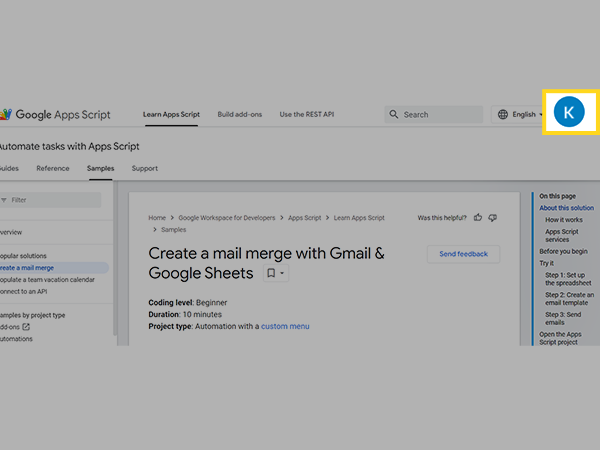
- Go to this page of Google Apps Script.
- Upon reaching the page, switch to the account through which you want to send multiple emails, by clicking on the profile icon at the top right corner. However, if you are not logged into Gmail, you will see the Sign In button, click on it and log into your account.
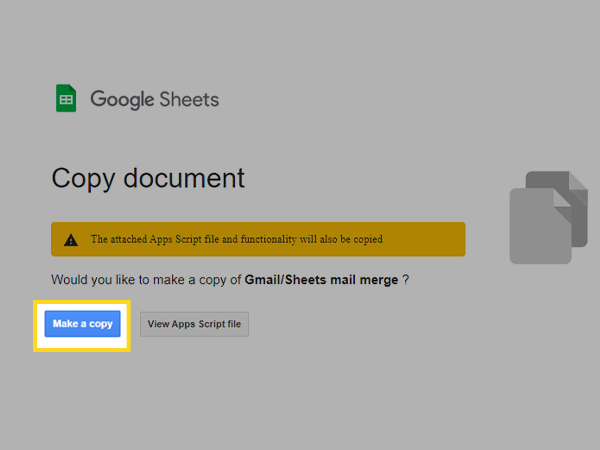
- Now, scroll down on the Apps Script page, and click on the Make a Copy button.
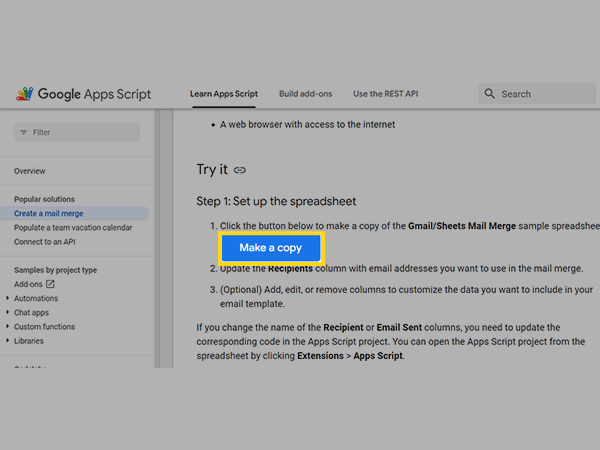
- Again, on the following page, click on the Make a Copy button. This will create a Google Sheet with predefined column names and some dummy information. Fill the sheet with your contacts’ data.
Note: DO NOT change the names RECIPIENT and EMAIL SENT columns, otherwise this method won’t work. However, you can edit, add or remove other columns according to your need. Also, you can delete the prefilled contact information and populate the sheet with your data.
- Now, open your Gmail account through which you wish to send mass emails.
- Next, create a draft email consisting of the email body and necessarily a subject line. To include the information in the email from the spreadsheet, use a placeholder, like {{First Name}}. The placeholder, name inside curly braces, corresponds to the column name in the spreadsheet.
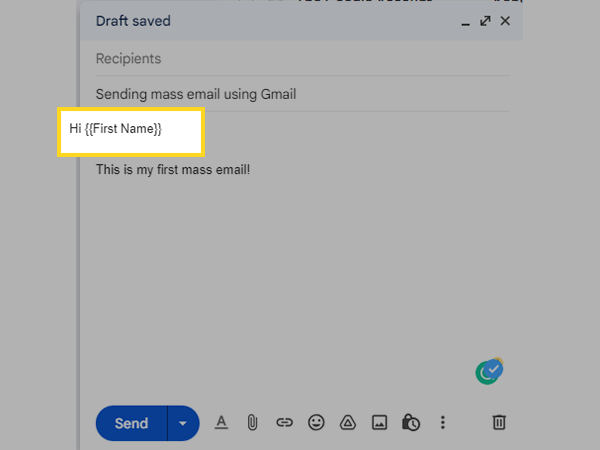
Note: The name within the curly braces should be exactly the same as the column name in the spreadsheet.
- Once you are done composing your email, copy its subject line.
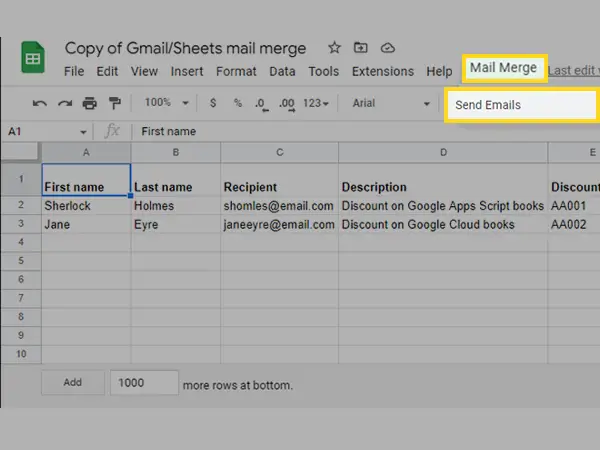
- After that, again open the spreadsheet created earlier and refresh the page. Now, click on the Mail Merge option in the top menu of Sheet, and then select the Send Emails option.
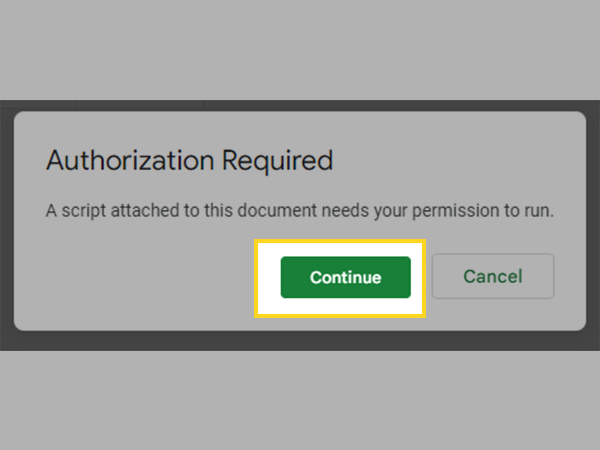
- Click on Continue when the ‘Authorization Required’ window opens up.
- If you are logged into multiple Gmail accounts, you will be asked to select the required one.
- Again, click on Mail Merge and then select the Send Emails option.
- Lastly, paste the subject line of the email you just created in the displayed window, and click OK. This will send the email to all the recipients listed in the sheet at once.

Note: You can visit the Google Apps Script page to know how you can modify the script to send emails as Bcc, Cc, etc., and to include Unicode characters including emojis.
Sending Mass Emails through Gmail using GMass
Gmail has a certain limit to sending emails in a day. For a regular Gmail account it is 500 emails/day while for a Google Workspace account (paid G Suit service), the limit is 2,000 emails/day. However, you can expand this limit and send emails in bulk through Gmail without spamming using GMass.
There are two methods to use GMass, both of which are stated further, but before moving to those, you should create a Google Sheet that will be used to send mass emails.
Here’s how to do this:
Creating the Spreadsheet
- Open Google Sheets on your browser using the Gmail account through which you want to send multiple emails.
- Now, create the new sheet and give it a name.
- Next, create the columns to save the contacts’ information in it. Make sure to add the email column compulsorily.
- Fill in the sheet with the details.
Method-1:
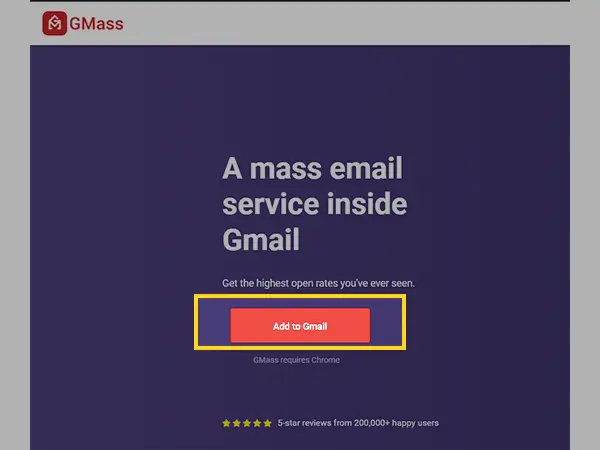
- First, open the browser on your system and go to the GMass official website.
- There, you will see an Add to Gmail button in the very first section of the page, click on it.
- Thereafter, you have to follow some on-screen instructions that will lead you to install the extension on your browser. Once it is done, open your Gmail account through which you want to send bulk emails.
- When you open your Gmail account, you might be prompted to create a GMass account. If it is not prompted, then click on the GMass button adjacent to the search box of your Gmail dashboard.
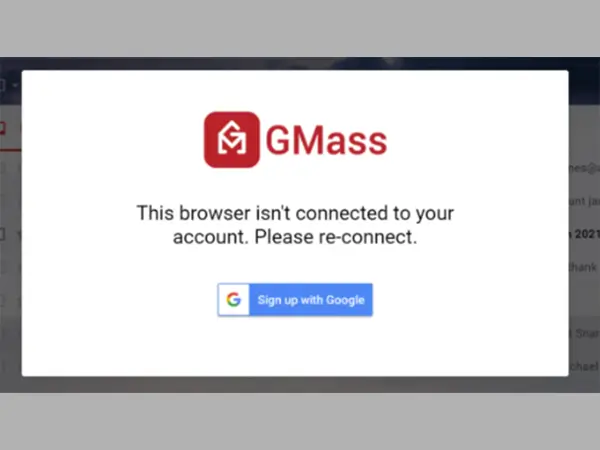
- Next, follow the prompted steps to complete the signup process.
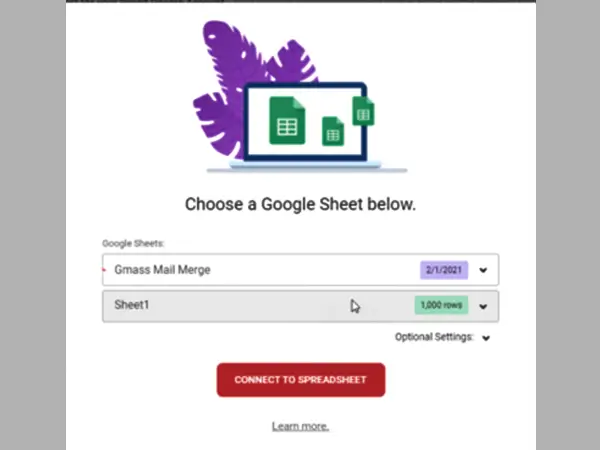
- Now, you have to connect the spreadsheet which consists of information about the recipients, to your Gmail. For doing so, click on the spreadsheet icon next to the search bar in your Gmail dashboard.
- Choose the sheet name in which you had filled the contact details, and click on the Connect to Spreadsheet button.
- This will open up the GMass email composing window, with a special email address in the ‘To’ field, which you should not change. Write in your email in the window.
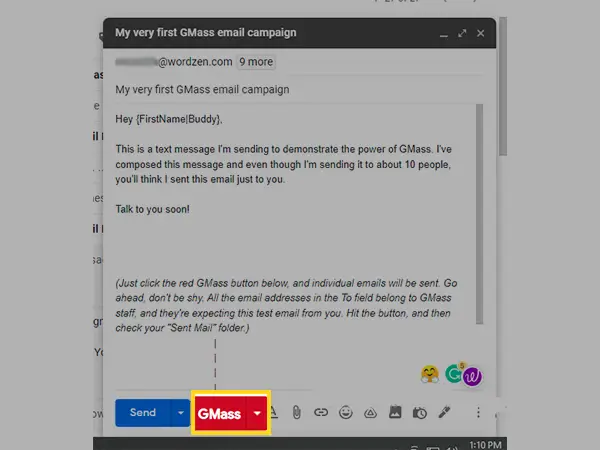
- You can add other information from the spreadsheet to your email, by clicking on the small arrow next to the GMass button, and selecting the Personalize option. Then, click on the Personalize drop-down menu to select the column you want to insert.
- Once you are done, just click on the GMass button.

Note: You can send the email to yourself to see how your email will look on the recipient side, by clicking on the Send Text Email button next to the ‘To’ field in the email composing window.
Method-2:
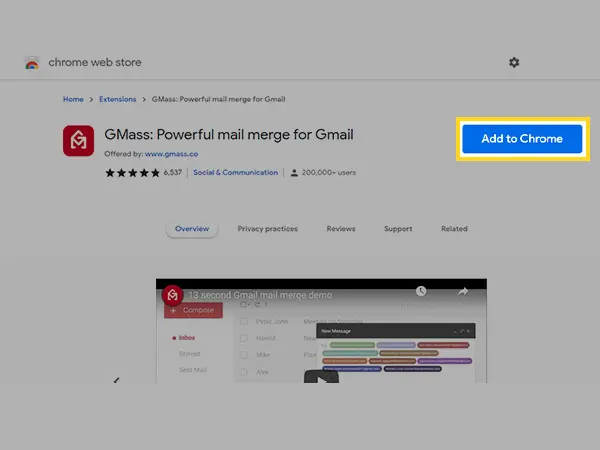
- Open the browser on your system, and type GMass Chrome extension in the search bar and search.
- Click on the first link in the search results. This will take you to the GMass extension page, where you have to click on the Add to Chrome button.
- Then, follow some instructions displayed on the screen to complete the installation process.
- Once done, open the Gmail account in the browser through which you want to send multiple emails to the recipients.
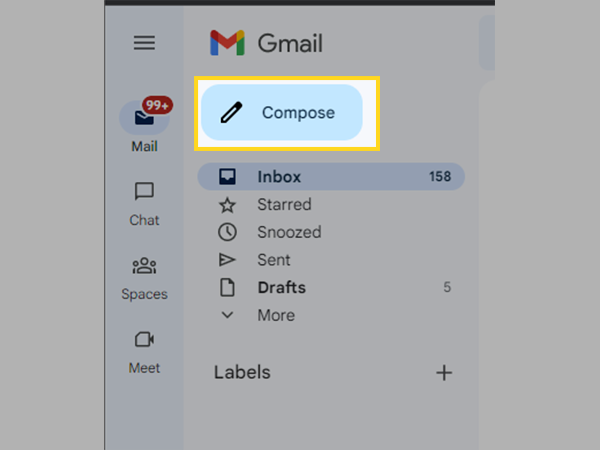
- Click on the Compose button to write the email.
- In the ‘To’ field, type in the email addresses to which you want to send the email. You can type in the name of your email group or contact list if you have one in your Gmail account (Refer to the ‘All You Need to Know to Create and Manage an Email Group In Gmail?’ article to know more about it).
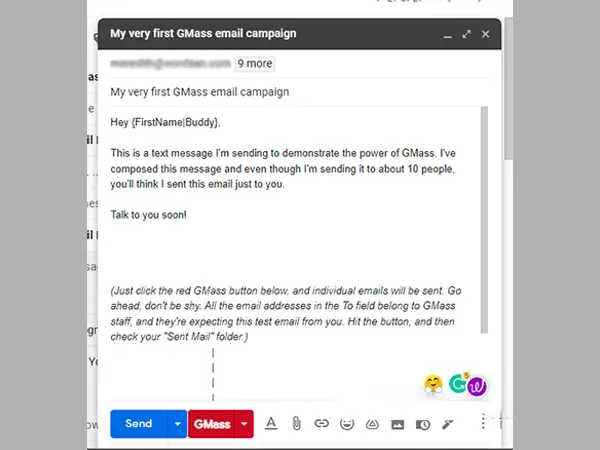
- Type in the email body. Once done, click on the GMass button present next to Send button in the Compose window. Thereafter, the email will be sent to the listed recipients.
Sending Multiple Emails through Gmail using Yet Another Mail Merge (YAMM)
YAMM is another service that will let you send mass emails through your Gmail account. First, to proceed with the steps, you should create a Google Sheet that will contain the details of the recipients (The above section of the article, states the process for the same).
Here are the steps:
- Open the spreadsheet of the recipients you created earlier to which you wanted to send the email.
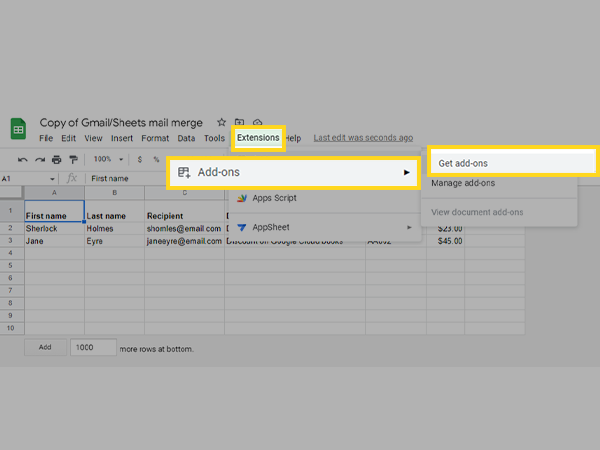
- Click on the Extensions option present at the top menu bar of the sheet.
- Then, select the Add-ons option and click on Get Add-ons.
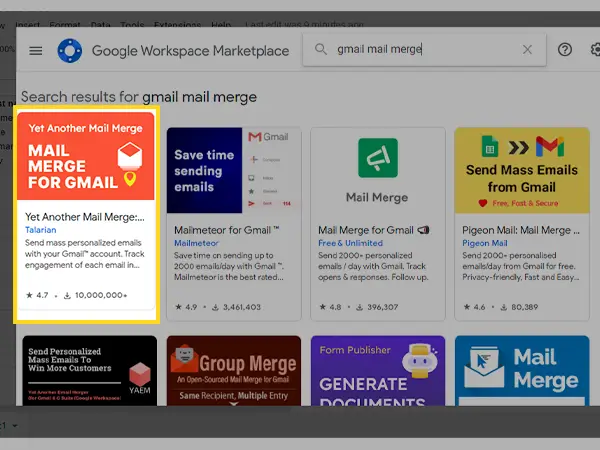
- After that, a window will open where you have to type ‘Gmail mail merge’ in the search box and hit Enter.
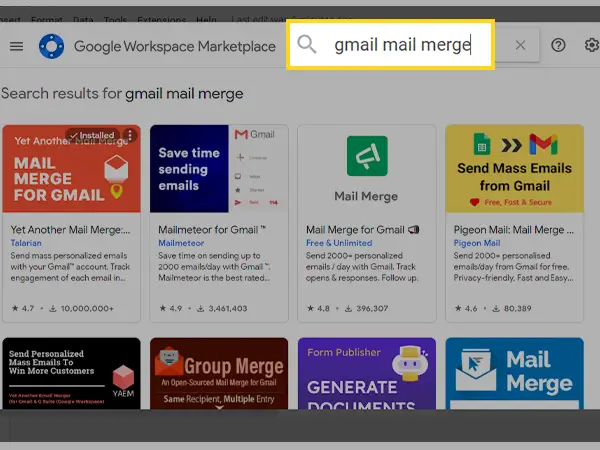
- Several options will appear, where you have to click on the YAMM Mail Merge for Gmail.
- On the following window, click on the Install button.
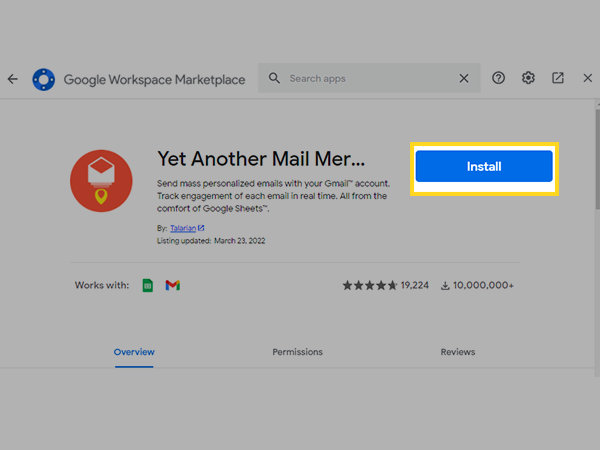
- Thereafter, follow the instructions on the screen and install the extension. Also, ensure to give permission to access your Gmail account using which you want to send multiple emails to the recipients at once.
- Once the above process is done, open your Gmail account, click on the Compose button, give your email a subject line and type in the email body.
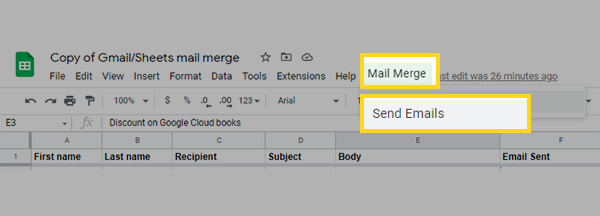
- Open the spreadsheet containing the contact information for sending the mass email. Now, in the top menu bar, look for the Mail Merge option and click on it, and then select Send Emails.
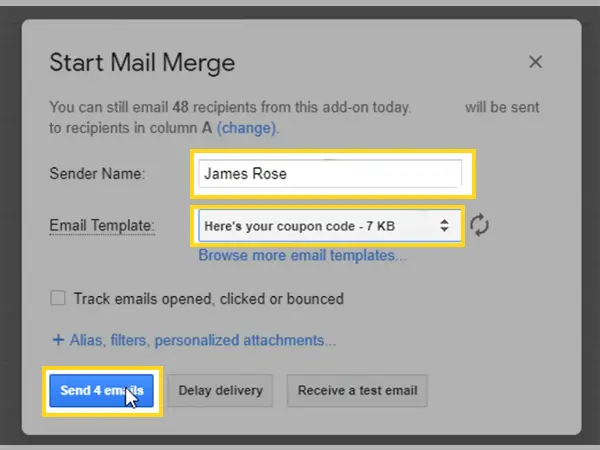
- Next, a Start Mail Merge window will open where you have to type in the Sender Name and select the Email Template that you want to send. The subject line of emails saved in your Draft will appear in the drop-down menu of Email Template, select the one from them, you just created above.
- Finally, click on the Send Emails button to send the email to all the recipients.
- Once the email is sent, you will see a Finished Script message at the top of the page.
Note:
- In order to send the customized email, with the recipient’s name in it, you can use a placeholder. Like in the email if you want to write Hi John, you can do so by typing Hi {{Name}}, this is called placeholder, where Name should be the name of the column that contains the name of the recipients in the sheet. Also, make sure that the column name in the placeholder is exactly the same as in the sheet.
- Before sending the mail to other recipients, you can test it on yourself by clicking on the ‘Receive a Test Email’ option in the mail merge window.
Use Google Workspace Multi-send for Sending Mass Emails
If you are using a Gmail Workspace account, which is Google’s paid service, you will be able to send multiple emails at once without the recipient knowing who else has received the same email.
Jotted down is the process following which you will be able to send bulk emails using Google Workspace:
- Open your Gmail Workspace account on your desktop and click on the Compose button.
- Now, the email composing window will open, where you have to turn on the multi-send option
which will be present in the bottom toolbar of the window.
- Next, add recipients in the “To” field. Here, you can add a maximum of 1,500 recipients at once, and only one recipient can be added in “Cc” and “Bcc”. You can add all the recipients at once by creating a contact list email group in Gmail.
Note: Every email sent will include the recipient’s names added to the “Cc” or “Bcc” field.
- After that, give your email a subject line and type out its body. Once the email is drafted, click on the Continue button.
- If you want to test the email by sending it to yourself, click on the Send Preview button.
- Once you are satisfied with the email, click on the Send All button.
FAQs
Ans: With a regular Gmail account, you can send up to 500 emails in a day. However, if you have a Google Workspace account (paid Google service that comes under G Suit), you will be able to send 2,000 emails in a day.
Ans: Well, regular Gmail allows you to send 500 emails in a day, which according to me, is quite a large limit. However, to send more emails, you can add extensions like GMass or YAMM in your browser that allows you to send emails in bulk. The steps to add these, and how to use them to send mass emails through Gmail, are stated above in the article.
Further, you can switch to Google Workspace which is free for initial 14 days, after which you have to pay for the service to continue using it.
Ans: The methods to use Google Sheets to send mass emails through Gmail are stated in the article. You have to create a sheet containing the recipient’s email address, name, and other information. Then, use placeholders in your email that corresponds to the column name in the sheet and fetch data from there. The detailed process for doing so is stated above.
Ans: In order to send emails to a large number of people without them knowing to whom the same email has been sent, you can put the recipients in the Bcc field. However, if you have a Google Workspace account (paid Google service), you can use Multi-send to do so, as it will separately send the same email to multiple recipients. The process for using Google Workspace is listed in the above article.
Share