Here’s the Correct Procedure of Login into GMX Email Account and Signing-Up for It
Do you have an email account on GMX Mail (Global Mail Exchange) –“a free advertising-supported email service provided by 1&1 and Fasthosts Internet for both personal and professional usage to give its millions of worldwide users the unmatchable experience of high-speed with an assurance of outstanding security.” But, finding it difficult to login into it? Then, we have got you this guide.
So, if you’ve encountered troubles in reaching the correct ‘GMX Email Login Page’ and signing in to your GMX mail account then, most probably you have not used the correct way of GMX email sign-in procedure. Well, let us tell you that, in order to sign-in to your GMX email account, if you have tried to get the ‘GMX My Account Login’ page through a search engine or from your Windows search bar, then, unfortunately, it’s not a proper way of doing the same.
However, reading this, if you’re wondering about the right way of signing in to your GMX email account but have no idea of the same then, do not worry at all! After all, we’re here to help you with the same only. So, without wasting any further second, let’s get yourself enlighten about some of the ‘best practices’ to visit the correct GMX webmail login page and along with that, even about the correct step-by-step procedure of login into GMX email account:
Few Best Practices to Quickly and Safely Visit the Correct GMX Webmail Login Page
- You should visit the login page to access your GMX email account using this https://www.gmxmail.com link. It’s the only correct URL of the official GMX homepage, and you’ve to ensure entering the full aforementioned URL onto your browser’s URL address bar.
- Do not try to search for GMX webmail login page from a browser, search engine or your Windows search bar. Instead, what you should do is bookmark the official GMX email login page and ensure to visit the page only when you want to login to your GMX mail account.
- Avoid entering the phrases like ‘GMX email login’ and ‘GMX sign-in’ page, etc. Well, because search engines of most web browsers do not always guarantee to showcase the genuine and right result of pages that you want to visit. Thus, randomly selecting the log-in page of GMX mail might not let you login to your account via the same.
- Never use any unofficial links as they redirect your request to a clone website and when you try to log in from such a similar site/page that pretends to be the official GMX webmail login page, you may get yourself and your GMX account data in trouble.
Steps to Sign-in to GMX Mail Account
- To begin the sign-in process, first launch your regular internet browser.
- Then, enter this “https://www.gmxmail.com” (full) URL address in your browser’s URL address bar.
- Once you’re done entering, hit the ‘Enter’ button.
- In doing so, you’ll be directed onto the homepage of ‘GMX.Com Mail Login Page.’[Note: Do not forget to bookmark this GMX login page for easier access, next time when you wish to login to your GMX Mail account.]
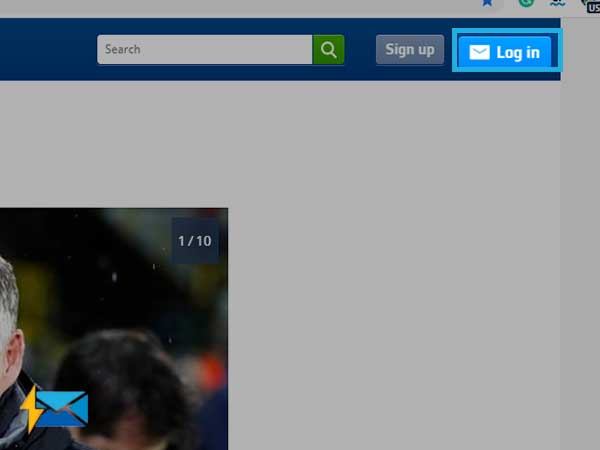
- There, click on the ‘Log-in’ button from the upper-right corner of the GMX homepage.
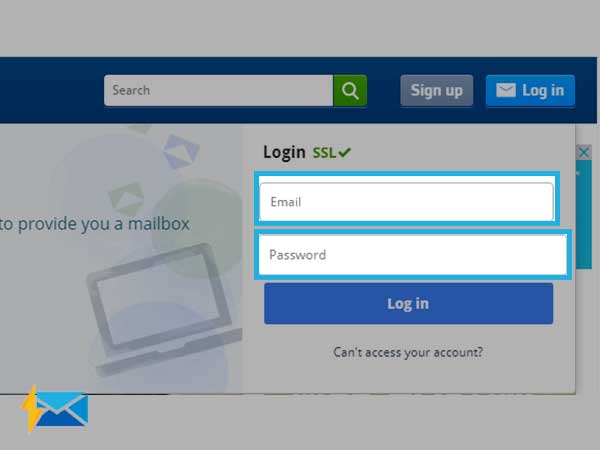
- Now, as the login-form pops up on the next screen, ensure to enter the correct login credentials of your GMX email account i.e., the GMX email ID and GMX account password.
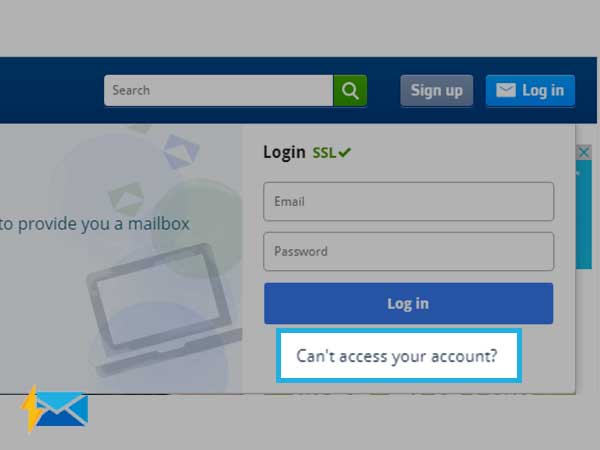
[Point to Consider: In an unfortunate case, if you forgot your account password then, locate the ‘Can’t access your account?’ link beneath the ‘Login button’ and click on the same to reach onto the ‘GMX Help Center Page.’ There, click on the ‘Forgot Your Password’ category and hit the ‘Continue’ to proceed to the ‘Contact Us’ form for retrieving your GMX account password.]
- After entering the same, if appeared, you can also consider to tick-mark the box which is next to the text— ‘Remember Me.’ [Note: This will help your browser in remembering your GMX account’s login details to auto-fill the same next time you login to your account.]
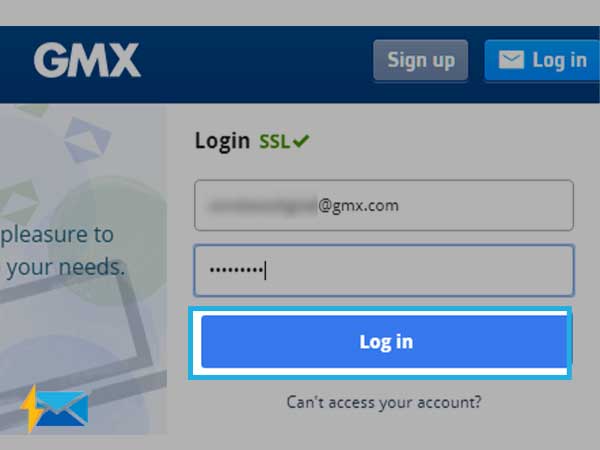
- In the end, click on the ‘Log-in’ button to let the GMX server take you straight to the inbox page of your GMX email account where you can manage all your GMX emails.
So, this is all about how all those who already have an existing GMX email account can login to their respective GMX email account using the above-mentioned correct procedure. However, if you don’t already have a free email account with GMX then, we’re happy to help you with that also. Have a look at this below-given guide to create an email account on GMX for enjoying all the great services that GMX has to offer.
Steps to Sign-up for GMX Mail Account
- In order to sign-up for a GMX email account first, you’ve to visit the login page of GMX Mail in the same above-mentioned way. Basically, for visiting the same, paste this official link in your browser’s URL address bar and hit the ‘Enter’ button.
- On the GMX mail login page, click the ‘Sign-up’ button which is there in the top-right corner of the homepage.

- Then, you’ll be directed on the ‘GMX account creation page’ and there, you need to first enter a ‘Username’ of your choice in front of the ‘@gmx.com’ suffix.
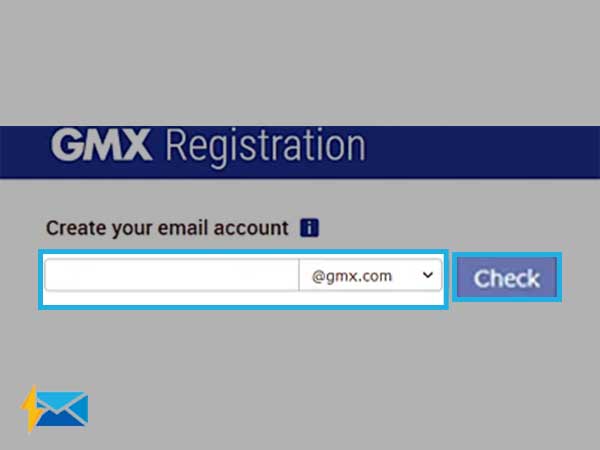
- Once you enter the same, click on the ‘Check’ button to ensure whether the email that you desire to have, is available or already taken. For the latter case, GMX will provide you the close alternatives for your preferred but already-taken email address.
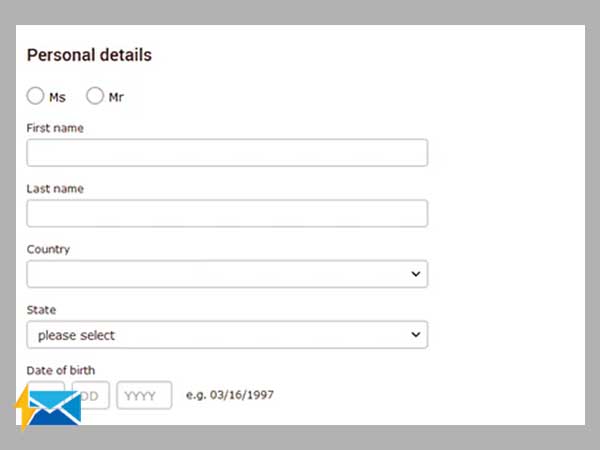
- Now, provide a few personal details of yours. For instance—
- Enter your Gender,
- Your First and Last Name,
- Type your Country,
- Your State,
- Your D.O.B, etc.
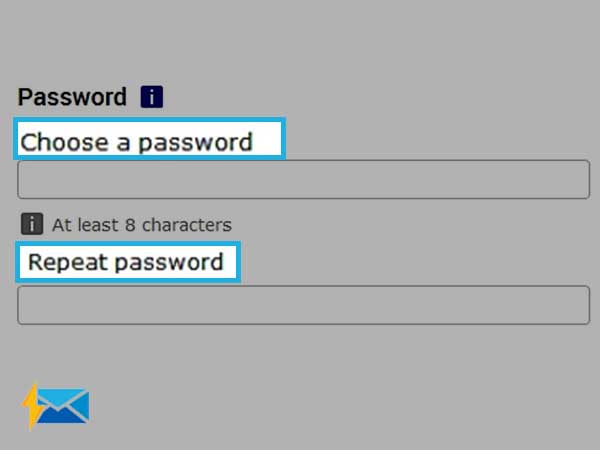
- After entering them, choose a ‘Password’ for your new GMX email account and while doing so, remember that it should contain—
- Minimum 8 Characters
- 1 Numeric Character
- 1 Special Character
- In continuation, enter the chosen password in the ‘Repeat Password’ textbox.
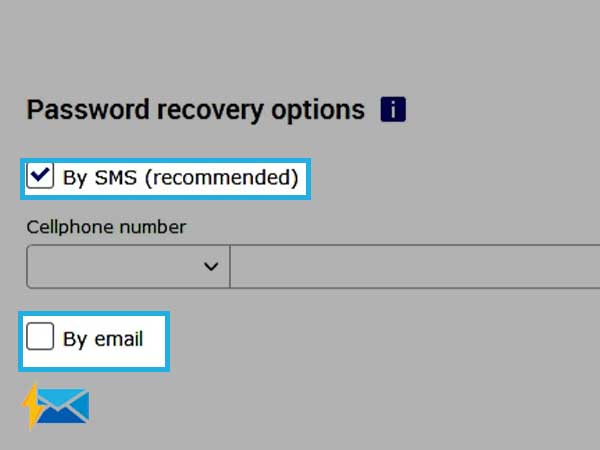
- And, most importantly, tick the “By SMS” or/and “By Email” box to enter the following mentioned password recovery details as they will be used in future as your GMX account’s security credentials whenever you forgot your username or password—
- Your Mobile Number
- Your Secondary Email Address
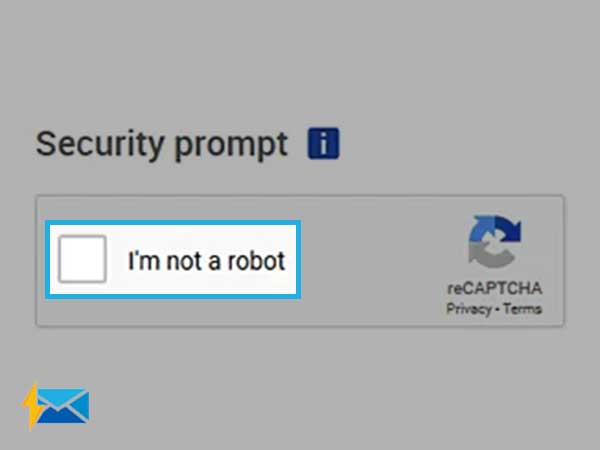
- Moving further, tick the box which is next to the ‘Google Security Captcha Form’ to confirm that you’re not a robot.
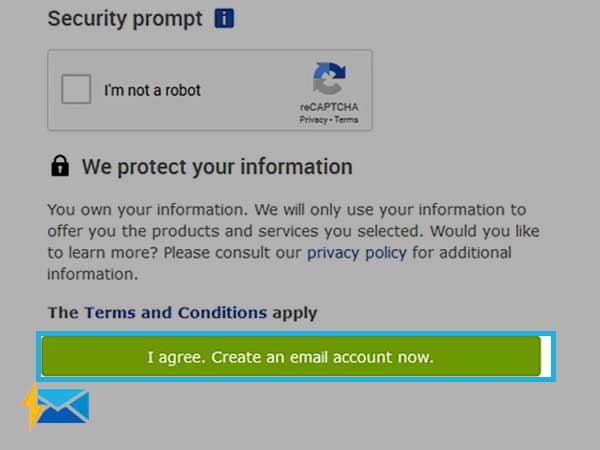
- In the end, read-out the mentioned ‘Terms and Conditions’ and once you finish reading, click on ‘I agree. Create an email account’ button to finally finish the procedure of signing-up for your very own GMX email account.
- Now, you can access your newly created account with the same step-by-step sign-in procedure that we’ve above-mentioned!
That’s all! Using the above-mentioned correct ‘GMX Mail Login Procedure,’ existing users can login to their respective GMX email account without encountering any login-related trouble. Also, those who don’t have an account on GMX, they can easily create one (if they wish) by rightly executing the steps of the given ‘GMX Mail Sign-up Process.’
If you want to know about the login process of other email services, here are some options for you:
Frontier Email Login
Login to Hotmail
Login to Gmail
AOL Email Login
Bellsouth.net Email Login
Share


