The Two Right Methods to Add/ Setup AOL Email on iPhone or iPad
AOL email has been on the scene since 1993. It is an email service offered by AOL, a subsidiary of Verizon Communications. Due to the trustworthiness of AOL email, users do not hesitate to configure AOL on their iPhones or iPads. Once configured, AOL enables you to check, and send emails from your AOL email account using your iPhone or iPad. With an AOL account on your iPhone, you get several additional benefits apart from sending and receiving emails, some of them are:
- Attachment limit of 25 MB.
- A massive mailbox with 1,000 new emails, 4,000 old emails, and 4,000 sent emails for every account.
- Email storage of 250 GB with all 25MB attachments.
- Support for POP3, IMAP, and SMTP protocols.
- Ability to link it with other email services such as Gmail and Hotmail.
- Embedded links are disabled automatically and only the email user can activate them.
- Spam and Virus protection.
- Spell checker.
- Support for SSL and HTTPS
So, to add or set up AOL email on your iPhone, you can follow two different approaches; automatic setup of AOL account and manual setup of AOL email account. If you are looking for the right way to configure AOL on iOS, you have landed on the right page. Here we will be discussing all essential elements that can affect the configuration, ways to properly set up AOL on iOS, and precautions to be taken.
This article focuses to help you through the steps to add the @aol.com email account on iPhone, iPad, or iPod.
Method to Set up/Add AOL on iPhone automatically
The method of adding a @aol.com email account to an iPad and iPhone remains the same throughout both iOS platforms i.e. iPhone and iPad. We have shared all the steps combined with screenshots so that you can get a clear understanding of the setup process.
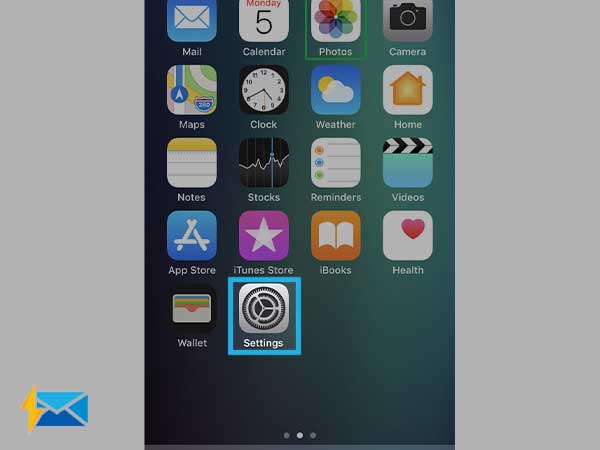
Step 1: Open “Settings” from the home screen of your iPhone or iPad.
Step 2: Now, scroll down to find the “Mail” option. (Or choose “Password and Accounts” if you are using a newer iOS version.).
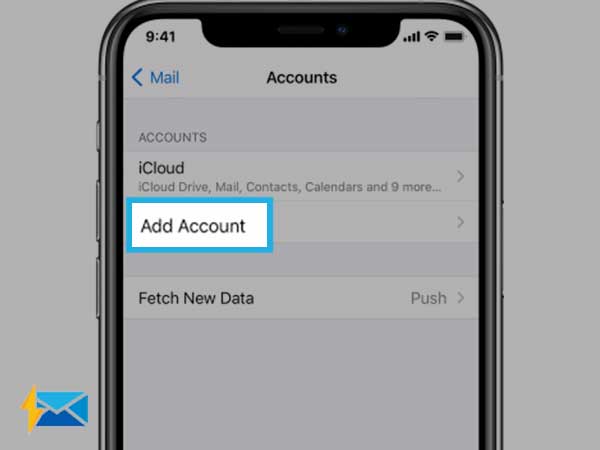
Step 3: Select “Add Account” under the Accounts section.
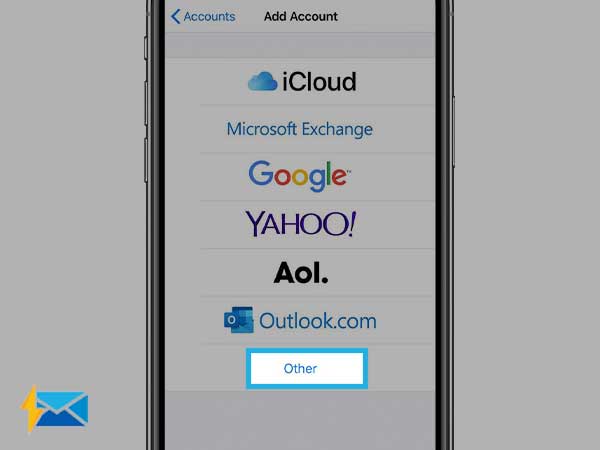
Step 4: On the next screen, find the name of your email service provider. Here we need to look for “AOL”, if it is not there, simply click on “Other”.
Step 5: Then, provide your AOL email address and account password in the respective text fields and click “Next”.
That’s it! With these simple steps, you can automatically add or set up an AOL email account on your iPhone and iPad, without getting into too many technicalities. But this might not work effectively for all, thus we are providing you with a can alternative method to configure AOL on iPhone using IMAP and POP settings; this process is known as manual configuration.
Method to Set up/Add AOL on iPhone Manually
To begin with the manual configuration of AOL on iPhone, you need to have the AOL email account settings with you. So, the correct AOL configuration settings are given here:
Here are the SMTP and POP/IMAP settings for AOL mail:
AOL SMTP Settings
- SMTP Server name: smtp.aol.com
- SMTP Port: 465
- Encryption: TLS/SSL
- SMTP Username: your complete AOL email address (including the “@aol.com”)
- SMTP Password: your AOL password
AOL POP Mail Setting
- AOL Server name: pop.aol.com
- Port Number: 995
- Encryption: SSL
AOL Mail IMAP Server Settings
- IMAP Server: imap.aol.com
- Port: 993
- Encryption: SSL
Now, look at the steps that you need to follow:
Step 1: Open Settings>> Password and Accounts or Mail>> Add Account.
Step 2: Select “Other” and click on “Add Mail Account”. (Same as we did above)
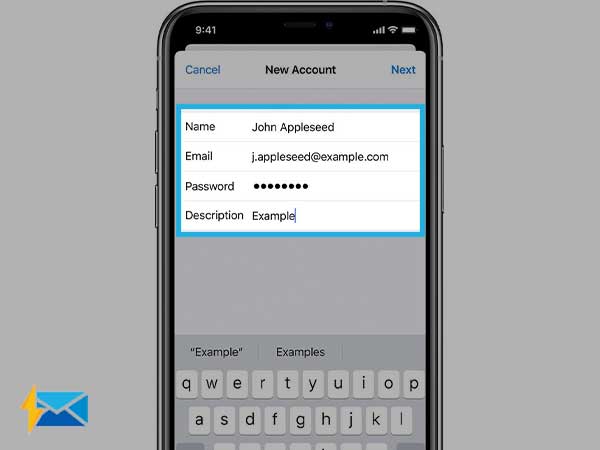
Step 3: On the next screen, provide your email address, password, and description of your AOL email account. The description can be anything in one to two words.
Step 4: If the account settings are not being found automatically, you need to enter them manually.
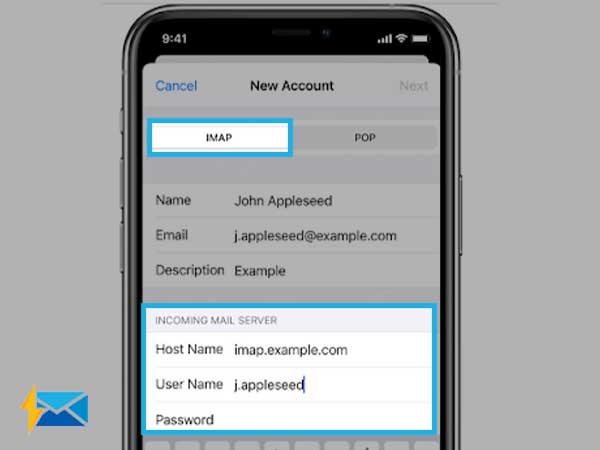
Step 5: Click on the “IMAP” tab and enter these details:
- Hostname: imap.aol.com
- Username: your AOL email address
- Password: your AOL email password
Step 6: After entering the IMAP settings, click on the “Next” button from the top.
Step 7: Now, your iPhone’s mail app will try to find and match your email settings. Click “Done” after the settings are found.
Now, your AOL email account is all set to be used on your iPhone. You can check your received emails, send emails, forwards, replies, and other folders with just one click. But the task doesn’t end here. You need to be extra cautious while you are using AOL email on iOS and thus we have listed all the crucial things that will help you attain the best out of AOL configuration on iPhone.
3 Important Points to Follow After the Successful Configuration
Point 1: After configuring the settings, do not forget to check the Incoming and Outgoing server settings of AOL. For this click on the AOL account that you have recently added and then click on “Advanced”. Then, open
“Incoming Mail Server” option and should contain these settings:
- Use SSL: on
- Identity check: password
- Server port: 993
Now, open the previous screen and select Outgoing server>> smtp.aol.com. It should have these details:
- Use SSL: on
- Identity check: password
- Server port: 465
Click “Done” and restart your device to activate the settings.
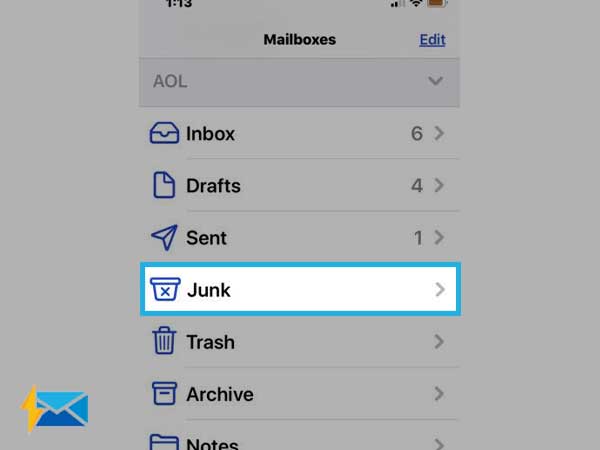
Point 2: Make sure that you keep a check on the “Junk” folder of your AOL email account, because at certain times important emails tend to be stuck in the Junk folder for unknown reasons, so by checking this folder regularly you can save yourself from a great loss. Furthermore, while using AOL on iPhone, all you need is to open the Mail app. go to “Mailboxes” and open the “Junk” folder.
Point 3: It is possible to use multiple email accounts on iPhone or iPad, so you can easily use AOL even if you have Gmail, Yahoo, or Outlook accounts already configured. All these email services are meant to serve different purposes and hence all are equally essential. However, using multiple accounts can sometimes create a state of confusion, therefore make sure you regularly use the browser-based version (if possible) of all your webmail accounts and check if you are missing anything. Similarly, login to AOL email account from your browser and make sure all emails are syncing in a proper fashion.
Share