A Quick Setup Guide for How to Setup CenturyLink Email on Outlook
If you have a Centurylink email account and don’t want to access it via Centurylink webmail interface then, luckily you can use a desktop email program such as Outlook, Thunderbird, or Windows Mail for the same purpose.
However, you need to first configure any of your preferred desktop-email clients with the appropriate server settings of Centurylink email. Wondering why? Well, because only then, you’ll be able to set up your Centurylink account on the same client and use it to access your Centurylink emails.
Owing to the same reason, here in this blog, you find the “Centurylink email settings for Outlook ” and “how you can set up a Centurylink email on Outlook” using the same given settings. So, if you want to set up your Centurylink email account particularly on Outlook then, follow the below given step-by-step guide.
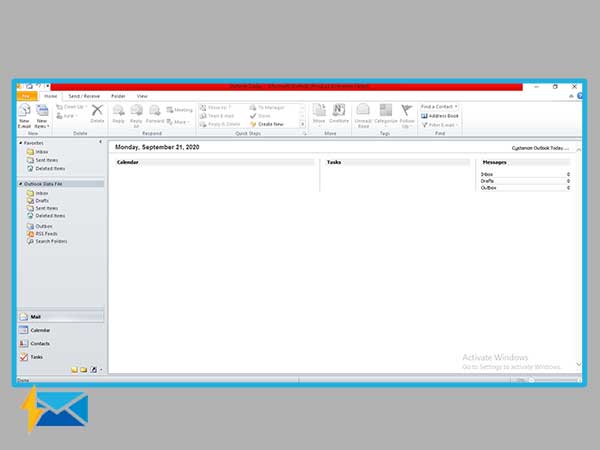
Step 1: Launch ‘MS Outlook App’
- In order to begin the setup process, first launch MS Outlook email client application on your computer. To do so, click on the ‘MS Outlook App Icon’ from the desktop in case if the shortcut is available. Otherwise, search for the same in the ‘All Programs’ list.
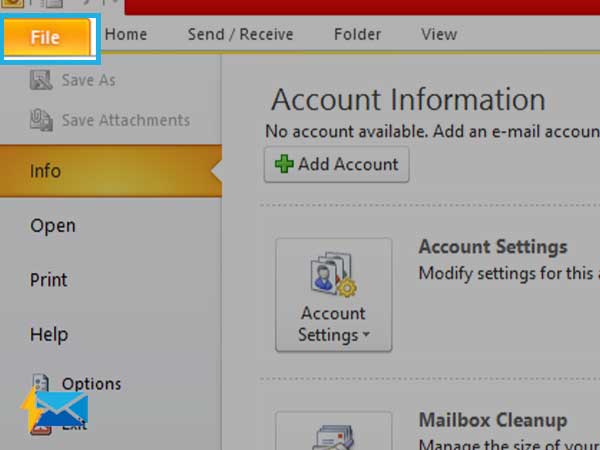
Step 2: Go to ‘File Tab’ [Note: In Outlook 2007, Go to ‘Tools Section’]
- As soon the app launches, go to its ‘File Tab’ which is there in the top-left corner of the screen and click on the same. In doing so, Outlook’s file group will open in front of you.
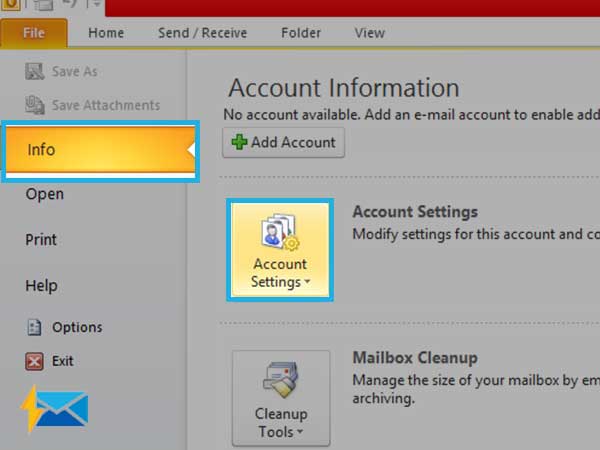
Step 3: Choose ‘Account Settings’
- From the file group’s drop-down menu, select the “Info” category to simply choose the “Account Settings” option.
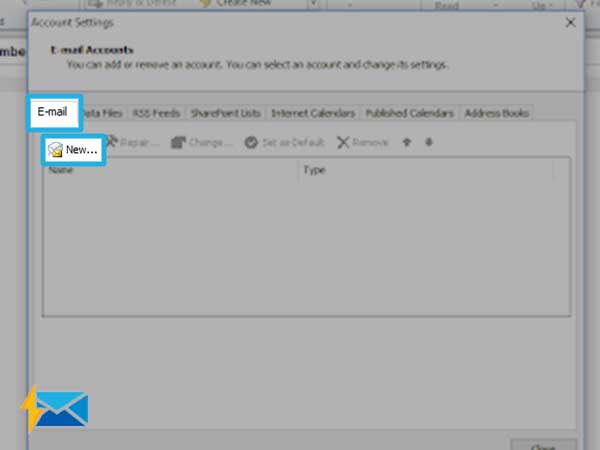
Step 4: Click on ‘New’ Under ‘Email Tab’
- Once you click on the account settings option, a small wizard box will appear on the screen. Inside it, go to “Email Tab” and select the “New” button which is located under the same.
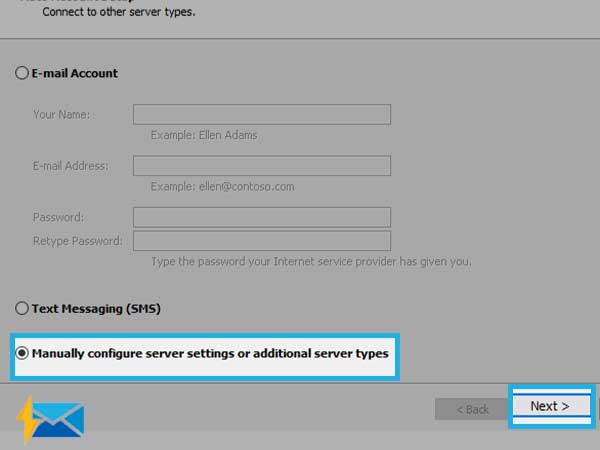
Step 5: Check ‘Manual Setup or Additional Server Types’
- By doing so, another “Add New Email Account” wizard box pop-up on the screen. Well, inside the same, select the radio button in front of the option that reads “Manual Setup or Additional Server Types” by simply clicking on it. Then, to continue further, click on the “Next” button.
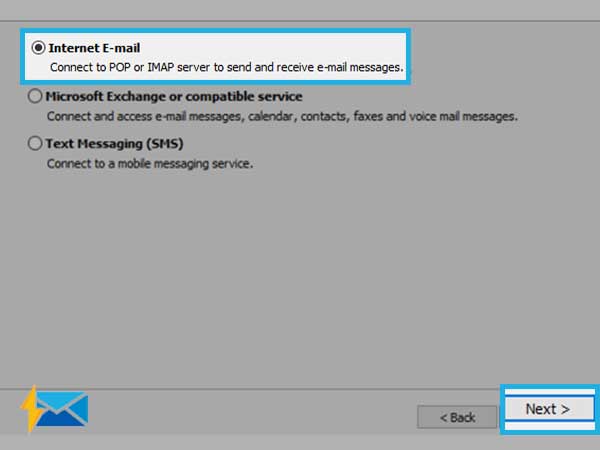
Step 6: Select ‘Internet E-mail’
- After clicking on the next button, you’ll reach onto the “Choose Service Page.” There, you’ll see a list of three options but out of all, you’ve to just select the radio button of “Internet Email” option. Then, again hit the ‘Next’ button to move ahead.
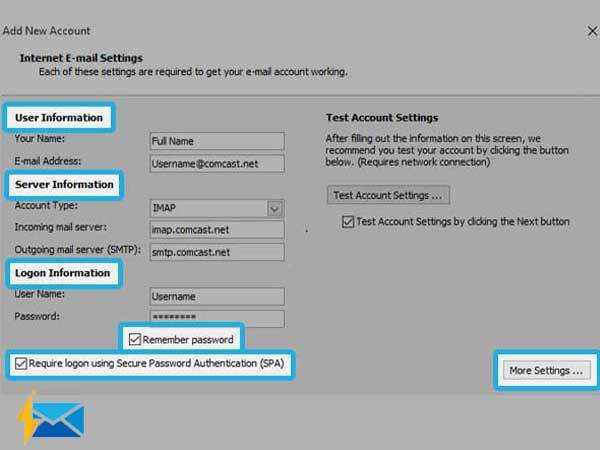
Step 7: Enter ‘Centurylink Email Settings for Outlook’
- Now, on the “Internet E-mail Settings Page,” you’ve to carefully input the following given Centurylink Outlook settings inside ‘User Information; Server Information; and Logon Information’ tab respectively. Have a look—
| User Information Tab |
|
| Server Information Tab | From the ‘Account Type’ drop-down menu: Select POP3 protocol to configure your account using the ‘Incoming and Outgoing mail server information’ of the same.
However, note that the server settings slightly vary depending on your location. So, inside both ‘Incoming Mail Server (POP3)’ and ‘Outgoing Mail Server (SMTP)’ text-field:
|
| Logon Information Tab |
|
- After that to let Outlook save your Centurylink account’s password, make sure you tick-mark the “Remember Password” checkbox.
- Consecutively, you have to also tick-mark the next checkbox that reads— “Require logon using Secure Password Authentication (SPA).”
- Now, as you finish entering the aforementioned details, click on the “More Settings” button to continue further with the setup process.
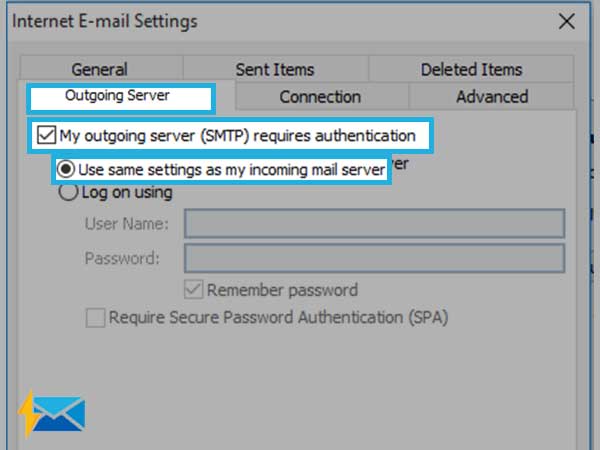
Step 8: Choose the ‘Outgoing Servers Tab’
- Inside ‘More Settings’ window, hit the “Outgoing Server” tab to tick-mark the checkbox that reads—“My outgoing server (SMTP) requires authentication.” And, along with that, select the radio button in front of the “Use same settings as my incoming mail server” option.
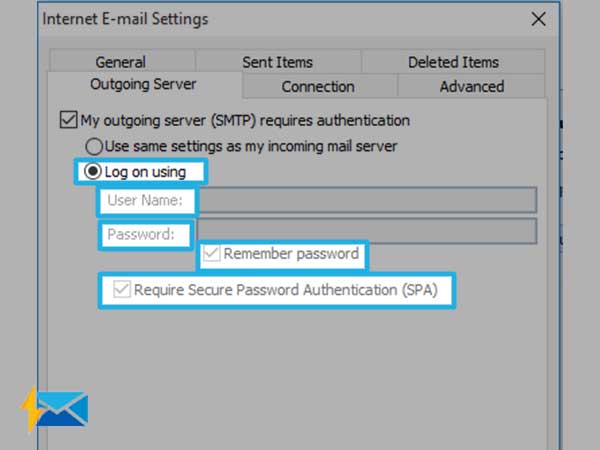
Step 9: Select ‘Log on Using’
- Optionally, instead of “Use same settings as my incoming mail server” option, you can select the “Log on Using” option by clicking on its radio button to further enter the following asked information—
- Username: Enter Your Centurylink Account Username)
- Password: Enter Your Centurylink Account Password)
- Remember Password: Tick-mark its checkbox to have Outlook save your password so that it won’t prompt you repeatedly for your password.
- Require logon using Secure Password Authentication (SPA): Tick-mark this checkbox also.
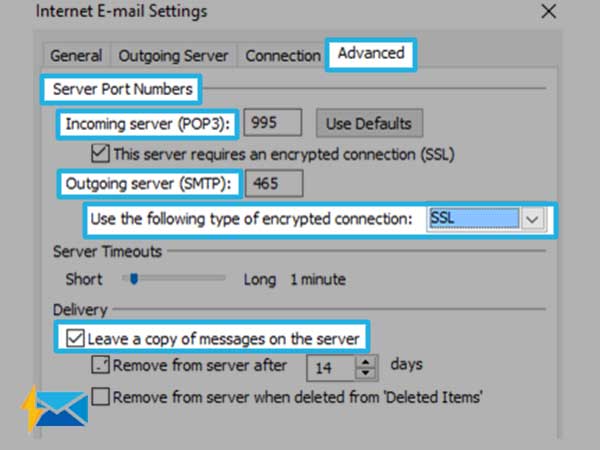
Step 10: Open ‘Advanced Tab’
- Now, shift onto the “Advanced Tab” by clicking on it. There, inside its “Server Port Numbers,” you’ve to input the following given additional POP3 server setting details—
- In the ‘Incoming server (POP3)’ text-field: Enter 995.
- This Server Requires an Encrypted Connection (SSL): Tick-mark this checkbox.
- In the ‘Outgoing Server (SMTP)’ text-field: Enter 465 or 587.
- From ‘Use the following type of Encrypted Connection’ drop-down menu: Select SSL.
- Optionally, tick-mark the checkbox next to ‘Leave a copy of messages on the server’ option if you want to access your email from multiple locations. Otherwise, if left unchecked, Outlook will delete your Centurylink email from the server after downloading them.
Step 11: Hit the ‘Test Account Settings’
- Last but not least, click on the ‘OK’ button to simply return to the previous window. There, hit the “Test Account Settings” and the “Next” button to verify whether you’ve properly configured your Centurylink email in Outlook or not!
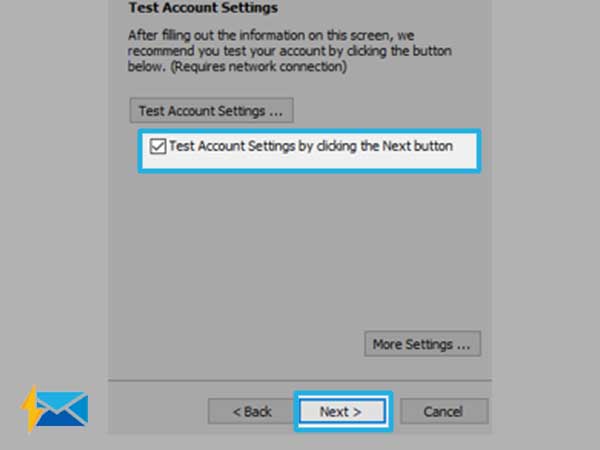
That’s all! If all goes well, click on the “Finish” button, in the end, to finally complete the setup process. Now, just log-in to your Centurylink webmail and enjoy the new rich feeling.
Share